Music theory isn’t just for pianists and academic composers. For producers, it’s a framework that shapes how notes move, how harmony builds tension, and even how your signal chain reacts to what you’re writing.
Why Music Theory Matters to Your Signal Chain
A dense jazz chord will hit your bus compressor differently than a sparse triad. A stepwise bass line glues to your kick in another way than a leaping one. Understanding the why behind the notes lets you design a signal flow that flatters the harmony instead of fighting it.
In this article, we’ll connect music theory to:
- Chord selection and voicing
- MIDI programming in DAWs (Ableton Live, FL Studio, Logic Pro, Pro Tools, Studio One)
- Signal flow choices (inserts vs sends, pre vs post)
- Plugin usage that enhances harmonic content
- Creative workflows to turn theory into sound fast
Building Chords with Intent, Not Guesswork
1. Start with Functional Harmony
Most tonal music is built around three harmonic functions:
- Tonic (I, vi) – Home, rest, stability
- Subdominant (ii, IV) – Movement away from home
- Dominant (V, vii°) – Tension that wants to resolve
For a C major key:
- Tonic: Cmaj (I), Am (vi)
- Subdominant: Dm (ii), F (IV)
- Dominant: G (V), Bdim (vii°)
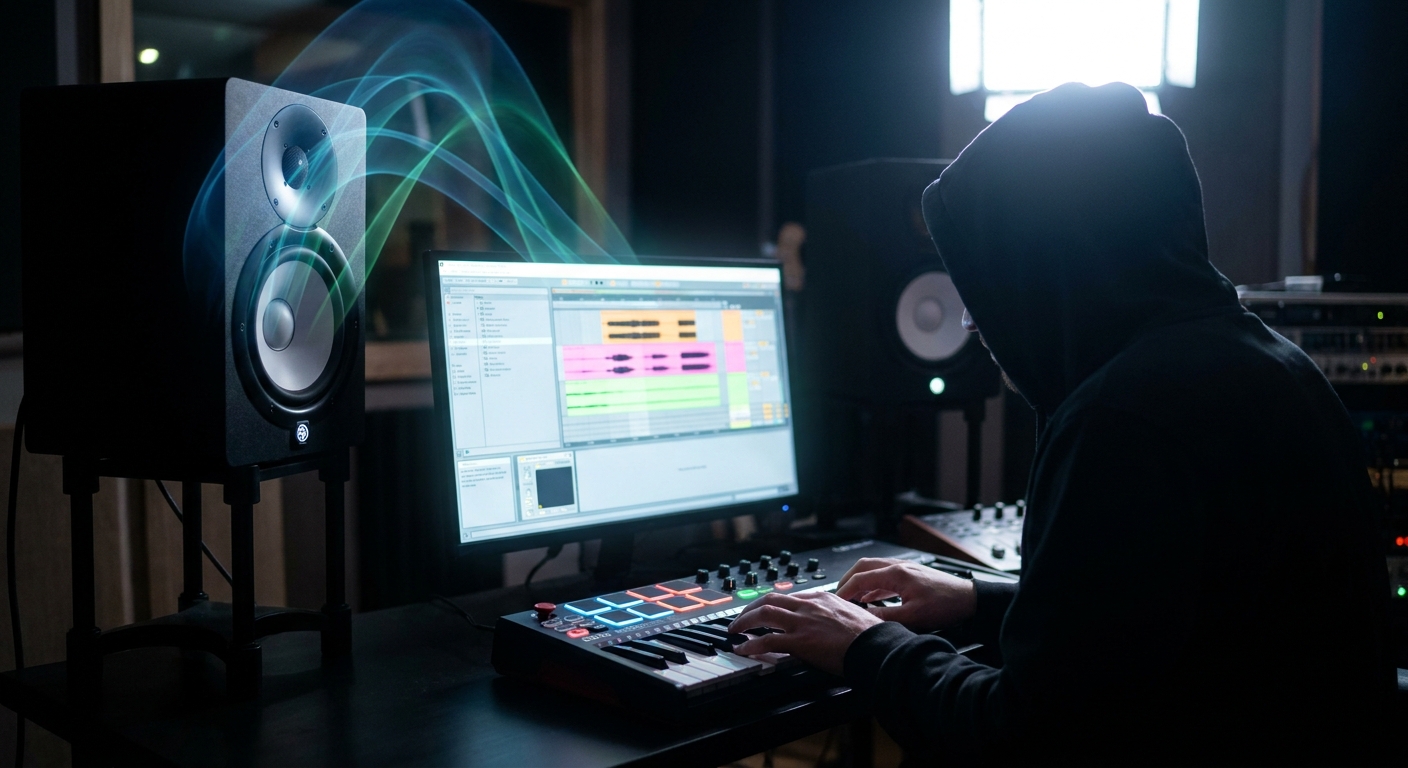
- In Ableton Live, drop the Scale MIDI effect on your chord track (set to C Major) and experiment with triads using only white keys, but tag MIDI clips with colors:
- Green = Tonic
- Yellow = Subdominant
- Red = Dominant
Producer shortcut:
You’ll visually see your tension/release arcs across the timeline.
2. Color with Sevenths and Extensions
Triads are your skeleton; 7ths, 9ths, 11ths, and 13ths are your skin and clothing.
- Major 7th (C–E–G–B): smooth, dreamy
- Dominant 7th (G–B–D–F): bluesy, tense
- Minor 7th (A–C–E–G): moody, laid-back
Chord upgrade system: Take a I–vi–IV–V in C major:
- C–Am–F–G → Cmaj7–Am9–Fmaj7–G7sus4
How-to (FL Studio):
- Write simple triads in the Piano roll.
- Use the Stamp tool → “Minor 7”, “Major 7”, “Dominant 7”.
- Stack the appropriate 7th note above each chord.
- Use
Alt+S(Strumizer) subtly to humanize chord timing.
Now your compressor and saturator have richer harmonic material to chew on.
Voicings, Inversions, and the Mix
Why Voicing Affects Your Plugins
The way you spread notes across the frequency spectrum changes how plugins react:
- Close voicings (notes packed together) concentrate energy in a narrow band, hitting multiband compressors and dynamic EQs more aggressively.
- Spread/open voicings reduce muddiness and allow more precise processing.
Practical Inversion Workflow
Take Cmaj7 (C–E–G–B). Instead of always playing root position, use inversions to create smooth voice leading:
- Root: C–E–G–B
- 1st inversion: E–G–B–C
- 2nd inversion: G–B–C–E
- 3rd inversion: B–C–E–G
Logic Pro technique:
- Create a software instrument track with a piano.
- Draw a simple chord progression in root positions.
- Select all notes →
Functions → MIDI Transform → Humanize(subtle). - Manually drag upper notes so each top note moves by no more than a whole step between chords.
- Now check your Channel EQ: you’ll likely see a smoother low-mid build-up, giving you more headroom before compression.
Mix trick:
- If the pad/vocal reverb is over-reacting to midrange build-up from dense voicings, try:
- Open voicings (spread notes) in the pad
- HPF your reverb send around 300–500 Hz
- Smaller pre-delay (10–20 ms) to blend better
Theory in the DAW: MIDI-First Workflows
Ableton Live: Modular Harmony Rack
Create a reusable Harmony Rack:
- Add a Chord MIDI effect.
- Map macros to intervals (e.g., +4, +7 for major; +3, +7 for minor).
- Add Scale after Chord to lock notes to your key.
- Save as "BFH–Harmony Designer".
Now you can experiment with one-finger chords that stay in key while you twist macros to explore different extensions.
Bonus: Place a Velocity MIDI effect before the chain to slightly randomize chord note velocities, making compressors and saturation react more organically.
FL Studio: Layered Harmonic Roles
Use FL’s strength for pattern-based writing:
- Pattern 1: Root motion (lower notes of chords mirrored in the bass)
- Pattern 2: Chord stabs (mid-register triads/7ths)
- Pattern 3: Top line (highest note of each chord progression turned into a hook)
Route each pattern to its own mixer track:
- Root/bass → sidechain-ducked by kick, mild saturation (e.g., FabFilter Saturn, SoundToys Decapitator)
- Chord stabs → transient shaping + bus compression
- Top line → delay & reverb sends, maybe chorus
Your harmonic roles become separate signal paths you can process individually.
Signal Flow: Where Harmony Meets Processing
Inserts vs Sends for Harmonic Content
Inserts are great when you want the processing to be part of the sound design of the chord itself:
- Channel saturation
- Tone/EQ shaping
- Character compression
Sends excel when you want shared space around your harmony:
- Reverb tails that tie chords and melodies together
- Tempo-synced delays that reinforce your harmonic rhythm
Studio One example:
- Create a Bus called “Harmony Bus”.
- Route all chord instruments (pads, keys, guitar) to it.
Insert:
- Analog-style EQ with slight high shelf for air. - Bus compressor with 1–2 dB GR on peaks. - Gentle tape-style saturation.
Send from Harmony Bus to:
- Plate reverb (short decay, 1–2 s) - Quarter-note delay, low-passed around 4–6 kHz
This glues your harmonic content before it hits the time-based effects, making the whole progression feel unified.
Pre vs Post Sends for Creative Tension
Use pre-fader sends to keep reverb/delay going while you pull chords down for arrangement contrast.
Example technique:
- Drop your chords out before a drop but keep a pre-fader reverb send alive.
- Automate the send level to rise into the drop.
- On the reverb return, insert:
- Auto-filter sweeping up
- Increasing stereo width plugin (e.g., Ozone Imager)
The harmony is implied through the reverb tail while the dry signal is muted—classic tension move rooted in harmonic memory.
Plugins That Love Harmony
1. Chord & Scale Helpers
- Scaler 2 (Plugin Boutique) – Detects chords from your MIDI or audio, suggests progressions, and provides genre-based voicings.
- Cthulhu (Xfer) – Chord trigger and arpeggiator; great for one-finger chord voicing.
- Captain Chords (Mixed In Key) – Progression builder with genre templates.
Use these as learning tools, not crutches: always check why the progression works (function, tension, release).
2. Harmonically Aware Processing
- FabFilter Pro-Q 3 – Dynamic EQ for taming resonant chord clusters.
- SoundToys Little AlterBoy – Formant and pitch shifting to repurpose chord stacks as textures.
- Valhalla VintageVerb – Lush textures for wide harmonic beds.
- Soothe2 (Oeksound) – Controls harshness that appears when you stack lots of upper extensions.
Creative Workflow: From Empty Session to Harmonic Bed
Try this 30-minute theory-focused workflow in any DAW:
Step 1: Choose a Function Arc (5 min)
Pick a simple function map, e.g.:
- T – S – D – T: I–IV–V–I
- T – S – D – T (deceptive): I–vi–IV–V
- Looping tension: ii–V–I–vi
Translate to your key in a MIDI clip.
Step 2: Add Extensions and Voice Leading (10 min)
- Turn every triad into a 7th chord.
Adjust inversions so:
- Bass moves smoothly (prefer 2–5 semitone jumps) - Top voice creates a melodic contour (up, down, or wave)
Step 3: Design the Harmony Bus (10 min)
- Pick two main chord instruments (e.g., warm EP + filtered saw pad).
- Route both into a Harmony Bus.
On the bus:
- Subtle tape saturation - 1–2 dB bus compression - EQ: roll off < 80 Hz, tiny presence boost at 3–5 kHz
Create sends:
- Short plate reverb - 1/8 or 1/4 note delay, low-passed
Step 4: Arrangement Movement (5 min)
- Automate chord instrument filter cutoff to mirror harmonic tension.
- Use pre-fader sends for ghost-chord reverbs in breakdowns.
- Mute/reintroduce specific chord tones (like 7ths or 9ths) to subtly change emotional color.
Closing Thoughts
Music theory for producers isn’t about memorizing rules; it’s about predictable emotional control—and routing that emotion through a signal chain that supports it.
When you:
- Understand harmonic function
- Shape voicings and inversions intentionally
- Design your buses and sends around harmonic roles
…your chords won’t just look good in MIDI—they’ll feel powerful, clean, and musical in the mix.
Use theory to decide what to play, then let your DAW and plugins decide how it lives in the speakers.