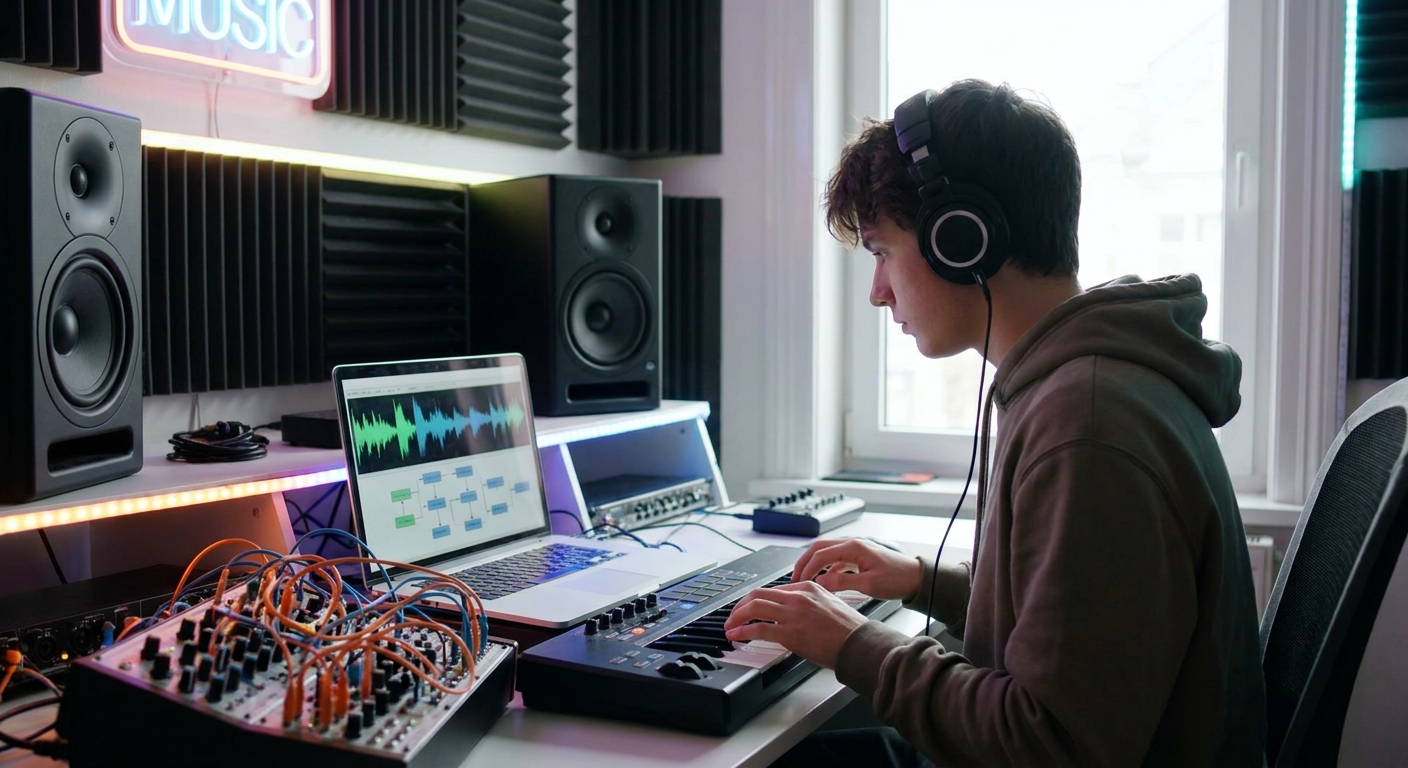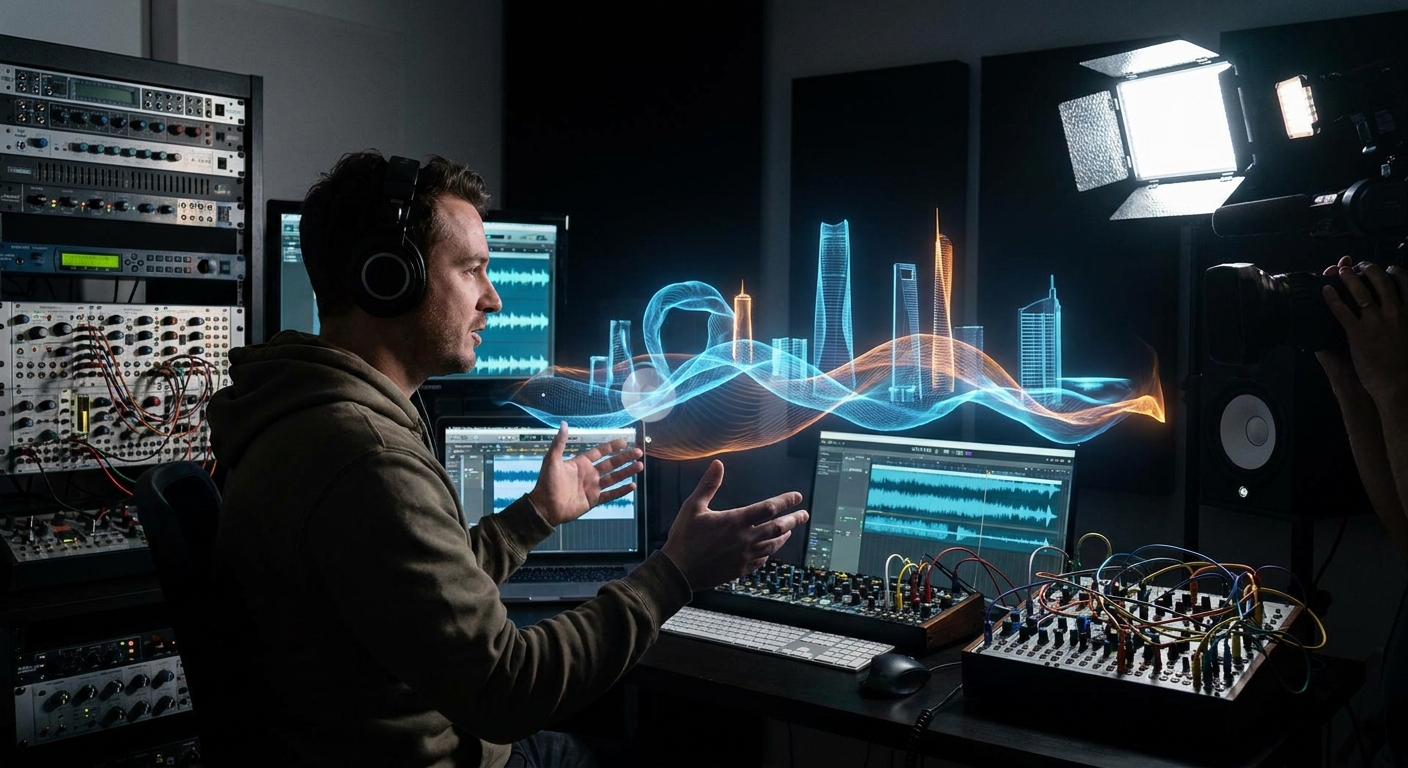
Cinematic sound design isn’t just for film composers. Whether you produce trap, techno, hyperpop, or ambient, borrowing cinematic techniques helps you build worlds, not just beats.
Beyond Beats: Thinking Cinematically in the DAW
Cinematic sound design focuses on:
- Scale – making sounds feel massive or intimate
- Depth – front, middle, back of the soundstage
- Narrative – sounds that evolve like a story
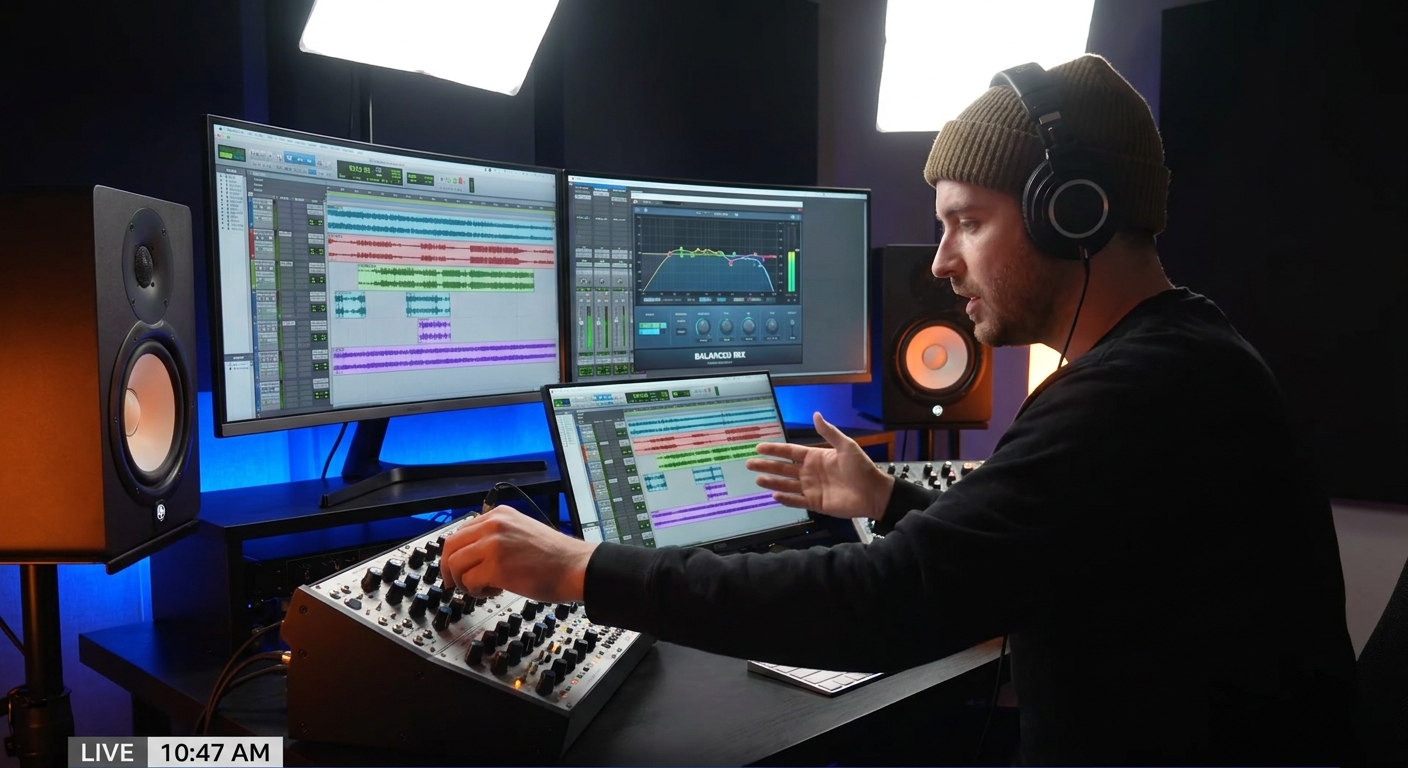
We’ll cover practical workflows for atmospheres, impacts, risers, and motifs in Ableton Live, FL Studio, and Logic Pro, along with plugin tips and signal flow ideas that translate to any genre.
Foundations: Space, Contrast, and Motion
Three principles underpin cinematic sound design:
- Space: Use reverb, delay, and filtering to create distance.
- Contrast: Soft vs. loud, near vs. far, bright vs. dark.
- Motion: Evolving textures and automation instead of static loops.
When you design a sound, ask:
- Where is this sound located? (right in front vs far away)
- How does it move over time?
- What emotional role does it play? (tension, release, curiosity, dread)
Atmospheres: Building the Sonic Environment
Atmospheres are the background canvas. They fill space and set mood without demanding attention.
Starting Points
Good raw materials for atmospheres:
- Field recordings (room tone, street noise, rain)
- Granulated instruments (pianos, strings, guitars)
- Heavily processed vocals
Workflow: Granular Atmos in Ableton, FL, Logic
1. Choose a Simple Source
A sustained piano chord, a vocal note, or a pad.
2. Granulate or Time-Stretch
Ableton Live:
- Load the sample into Simpler.
- Switch to Classic mode, enable Loop.
- Use LFO mod on start position or use Granulator II for more control.
- Use Fruity Granulizer.
- Adjust Grain Spacing and Wave Spacing for texture.
- Load into Alchemy, choose Granular as a source.
- Adjust grain size, position, and randomization.
FL Studio:
Logic Pro:
3. Shape the Spectrum and Space
Signal flow idea:
Source → Filter → Modulation → Reverb → Subtle Delay → EQ
- Apply a low-pass filter for warmth.
- Use LFOs to move the filter cutoff and pan slowly.
- Choose a long, dark reverb (5–15 seconds) with a HPF at 200–400 Hz.
- Add clean-up EQ, dipping any resonant frequencies.
You now have a slowly evolving bed you can automate over sections.
Impacts: Designing Cinematic Hits and Drops
Impacts sell transitions, drops, and trailer-style moments.
Layering Strategy
Think in layers:
Sub Boom (20–80 Hz) – weight
Mid Thud (80–300 Hz) – punch
High Crack / Texture (2–10 kHz) – detail
Tail / Reverb – size
Workflow: Trailer Hit from Scratch
1. Sub Boom
- Use a sine or low-frequency one-shot.
- Create a short note with a pitch envelope that drops down slightly.
2. Mid Thud
- Layer a heavily compressed tom, kick, or low orchestral drum.
- Saturate to bring out harmonics.
3. High Crack
- Use metal hits, claps, or rimshots.
- Distort and brighten.
4. Tail
- Send all layers to a reverb bus.
- Choose a large hall or plate (decay 3–7s), with strong high-pass.
DAW Implementation
Ableton Live:
- Group the impact layers into an Instrument Rack.
- Use Macro knobs for overall tone and decay.
- Route all layers to a bus mixer track.
- Process bus with saturation, EQ, then send to a reverb send.
- Use a Summing Stack for layers.
- Insert Space Designer or ChromaVerb on a send.
FL Studio:
Logic Pro:
Now you have a reusable impact engine that can be tuned and time-stretched per project.
Risers & Downlifters: Shaping Tension and Release
Risers and downlifters are about controlled anxiety. They guide the listener into and out of big moments.
Core Elements
- Pitch movement (rising or falling)
- Filter movement (opening or closing)
- Dynamics (getting louder or quieter)
Synth-Based Riser
- Start with noise + a simple saw wave.
- Assign pitch to ramp up 7–12 semitones over 1–4 bars.
- Open filter cutoff gradually.
- Add rising reverb mix and delay feedback.
Automation Signal Flow:
Pitch ↑, Filter cutoff ↑, Volume ↑, FX mix ↑
Audio-Based Riser
- Take a vocal or synth hit.
- Reverse it.
- Time-stretch to desired length.
- Add reverb and filter sweeps.
DAW Tips
- Use automation lanes for filter cutoff, volume, and FX sends.
- Save common 1-bar, 2-bar, 4-bar riser templates in your DAW.
Motifs and Signature Sounds
Cinematic sound design often revolves around short, recognizable motifs—a melody fragment, processed hit, or unique texture that recurs with variations.
Designing a Signature Motif
- Write a simple 3–5 note idea.
Assign it to a unique patch with:
- Unusual wavetable or oscillator choice - Interesting modulation (e.g., rhythmic filter movement) - Character FX (bitcrush, tape wobble, etc.)
Resample and create variations:
- Filtered version for intros - Distorted version for drops - Washed-out, reverbed version for breakdowns
Plugins That Shine for Character
- Distortion & Color: Soundtoys Decapitator, FabFilter Saturn, iZotope Trash 2
- Modulation: Soundtoys PhaseMistress, RC-20 Retro Color, Ableton’s Chorus-Ensemble
- Lo-Fi / Texture: D16 Decimort, Goodhertz Wow Control, Logic’s Bitcrusher & Tape Delay
Depth and Perspective: Placing Sounds in 3D
To make a mix feel cinematic, think in foreground, midground, background.
- Foreground: dry or lightly processed, bright, louder, less reverb.
- Midground: moderate reverb, more filtering.
- Background: dark, heavily reverbed, quieter.
Practical Approach
- Use reverb pre-delay: shorter for background, longer pre-delay for foreground elements so the dry sound hits first.
- Darken background elements using low-pass filters.
- Lower volume of distant elements more than you think.
DAW Examples:
- Ableton: Use multiple Return tracks—Short Room, Mid Hall, Far Hall—with different decay/filters.
- FL: Use several dedicated reverb sends with specific EQ and decay settings.
- Logic: Build a reverb bus stack (Close, Medium, Far) with different spaces.
Orchestrating with Sound Design
Think about register and density like a composer:
- Don’t stack too many dense textures in the same register.
- Alternate busy cinematic moments (lots of FX, risers, hits) with breathing space.
- Use silence or near-silence as a dramatic tool.
You can orchestrate with:
- Noise (storms, crowds, tape hiss)
- Pitched tones (drones, sustained chords)
- Events (impacts, stingers, one-shots)
Arrange these like instruments in a score.
DAW-Specific Mini Projects
Ableton: One-Scene Soundscape
- Create a new project with only three tracks: Atmos, FX, Motif.
- Atmos: Granulated pad with Auto Filter and long reverb.
- FX: A few hits, risers, downlifters placed at structural points.
- Motif: A simple 3-note melody using a character patch.
Automate reverb sends and filter sweeps so the scene breathes.
FL Studio: Cinematic Intro from Everyday Sounds
- Record your own sounds (keys, door slam, voice).
- Stretch, pitch, and reverse them.
- Route each to FX chains with reverb, delay, and distortion.
- Build a 16-bar intro that feels like a movie opening.
Logic: Score a Still Image
- Import a still image (screenshot from a film, photo) into a reference track or just keep it visible.
- Build a 30–60s piece reflecting that image using atmos, motifs, and impacts.
This builds cinematic instincts that you can bring back into your everyday production.
Final Thoughts: Bring Cinema into Every Genre
You don’t need an orchestra or a Hollywood budget to think cinematically. In your DAW, you already have:
- The ability to shape space and depth
- Tools for creating tension and release
- Ways to craft signature motifs and textures
Blend these ideas into your drops, intros, breakdowns, and transitions. Cinematic sound design is just storytelling with sound—and every track is a story waiting to be told.