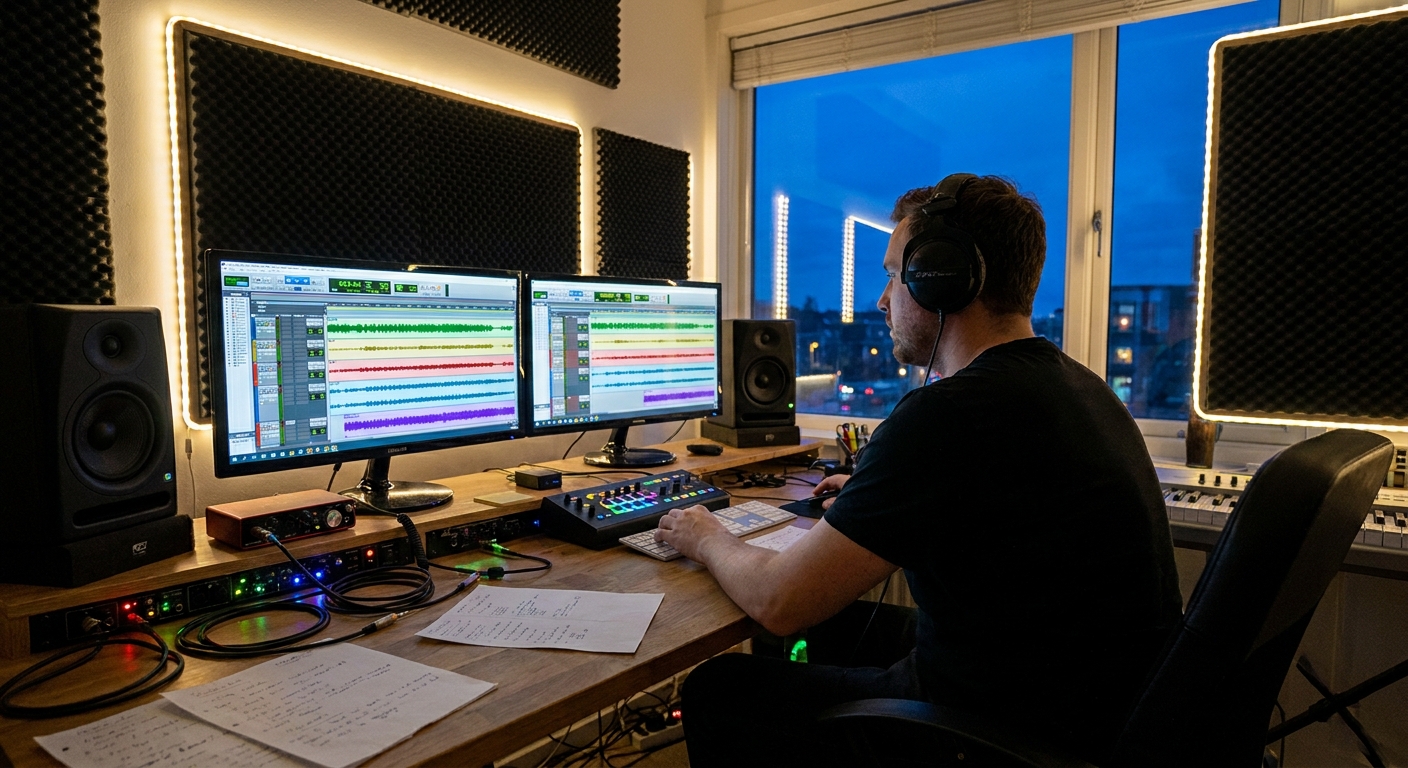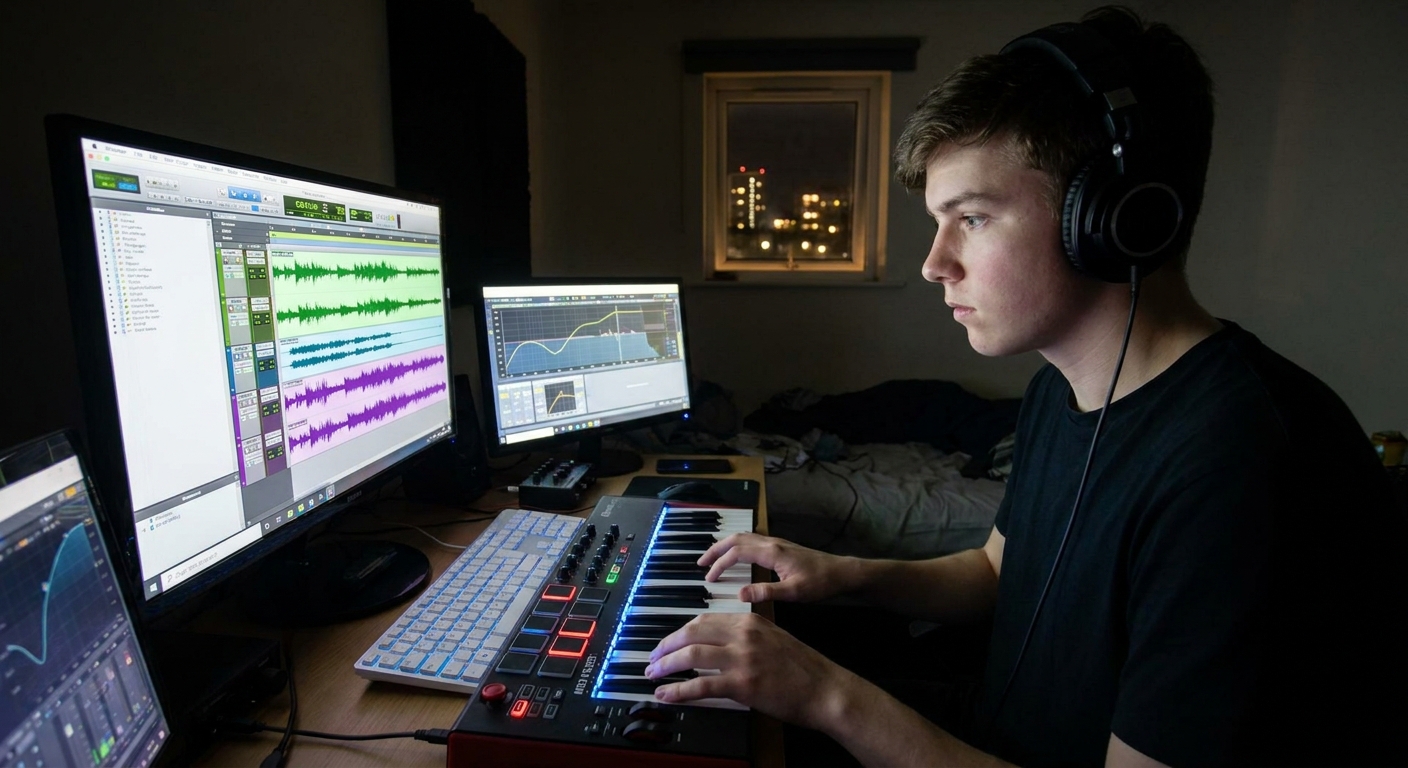
A technically clean mix is only half the story. The other half is movement.
Introduction
If your sessions sound flat even when they’re well-balanced and in tune, you’re probably missing creative mixing moves—the subtle automation, modulation, and space design that make a track feel alive.
Here are 10 techniques you can apply in Ableton Live, FL Studio, Logic Pro, and Pro Tools to transform static arrangements into immersive, cinematic soundscapes.
1. Evolving Reverb Tails on Lead Vocals
Instead of one static reverb level, automate it like an instrument.
Technique
- Use a reverb send for the lead vocal.
- Automate the send level to rise in transitions and drop in verses for clarity.
- Ableton Live:
- Right-click the Send knob → Show Automation.
- Draw curves so pre-chorus phrases bloom into reverb.
- Logic Pro:
- Use Automation View on the channel strip → automate Bus send level.
- Valhalla VintageVerb / Plate
- Stock reverbs (Ableton Reverb, Space Designer, Fruity Reeverb 2, D-Verb)
Workflow Examples
Plugin Picks
Pro tip: Put an EQ after the reverb on the return—high-pass around 200 Hz and gently low-pass above 8–10 kHz to keep the tail airy but controlled.
2. Auto-Panned Atmospheres for Width Without Mud
Wide pads and FX can clutter the midrange if they’re static. Adding movement keeps them interesting without raising their level.
Technique
- Place an auto-pan tremolo on pads or ambient sounds.
- Set a slow LFO (2–8 bars) for subtle stereo drift.
- Ableton Live:
- Use Auto Pan with Phase at 180° and Slow Rate.
- FL Studio:
- Use Fruity PanOMatic with an LFO shape and sync to tempo.
- Logic Pro:
- Use Tremolo in stereo mode; minimal depth for gentle movement.
- Pro Tools:
- Use AutoPan or your favorite third-party autopanner.
DAW Approaches
Keep the depth low (10–30%) for width that you feel more than hear.
3. Parallel Distortion for Emotional Intensity
Distortion doesn’t have to mean “heavy.” In parallel, it can add excitement and emotional edge.
Routing
- Create an aux bus called
Dist Parallel. - Insert a saturation/distortion plugin.
- Send vocals, drums, or synths into it at low levels.
Plugin Ideas
- Soundtoys Decapitator
- FabFilter Saturn
- Stock saturators (Ableton Saturator, Fruity Blood Overdrive, Logic Overdrive)
Blend until you just miss it when you mute it—that’s the sweet spot.
4. Dynamic Delays Triggered Only on Gaps
Delays can clutter lyrics if they fire on every word. Use ducking to keep them out of the way.
Technique
- Set up a delay on a send.
- Insert a compressor after the delay on the return.
- Sidechain the compressor from the dry vocal.
This way, the delay ducks while the vocal is present and rises in the gaps.
How-To in Different DAWs
- Ableton Live:
- On the delay return, add Compressor → enable Sidechain → select vocal track.
- FL Studio:
- Use Fruity Limiter in COMP mode; sidechain from vocal.
- Logic Pro:
- Use Compressor → Side Chain input set to vocal bus.
- Pro Tools:
- Any compressor with key input; set to the vocal track.
5. Multiband Sidechain on Bass for Transparent Groove
Instead of sidechaining the whole bass to the kick, only duck the low frequencies.
Method
- Use a multiband dynamics plugin on the bass.
- Sidechain the lowest band (say 20–120 Hz) from the kick.
Plugins
- FabFilter Pro-MB
- iZotope Neutron / Ozone Dynamics
- Stock multiband (e.g., Multipressor in Logic, Multiband Dynamics in Ableton)
This preserves midrange tone while letting the kick hit cleanly.
6. Automation-Based “Spotlight” EQ
Use EQ automation to spotlight key phrases or riffs.
Example: Lead Vocal Hook
- Add a gentle 1–2 dB shelf at 8–12 kHz.
- Automate that EQ band to turn on only for the hook line.
- All major EQ plugins allow parameter automation:
- Ableton: enable the tiny automation switch on the EQ device.
- FL: tweak the EQ band, then right-click → Create automation clip.
- Logic & Pro Tools: use Automation lanes for EQ band gain.
Practical DAW Steps
Use this to make crucial moments feel like the mic was leaned into just a bit more.
7. Creative Sends into a “Trash Bus” for Transitions
Transitions often lack drama. A Trash Bus solves that.
Setup
- Create an aux called
Trash Bus.
Add:
- Heavy saturation/distortion - Bitcrusher - Aggressive filter (low-pass or band-pass)
Automate sends from:
- Drums during fills - Lead synths before drops - Vocals on certain words
Mute the bus most of the time; unmute or automate send levels for specific impacts, risers, and fills.
8. Mid/Side EQ for Cinematic Width
Instead of just panning, use mid/side (M/S) EQ to sculpt center vs. sides.
Practical Uses
- Boost air (10–15 kHz) on the sides for spaciousness.
- Cut mud (200–300 Hz) in the mid to open the center.
- FabFilter Pro-Q 3 (excellent M/S support)
- iZotope Ozone EQ
- Many stock EQs (Ableton EQ Eight, Logic Channel EQ) have M/S modes.
- The music bus for width.
- The mix bus sparingly for mastering-style tweaks.
Plugins
Use M/S on:
9. Micro-Automation on the Mix Bus for Emotional Shape
Not everything has to be static. Tiny mix bus volume rides can shape emotion.
Examples
- Dip the entire mix by 0.5–1 dB right before a chorus, then restore—makes the chorus feel bigger.
- Gently raise the mix 0.5 dB in the final chorus for a lift.
This works in every DAW—just automate the master fader or a pre-fader gain plugin.
Use sparingly; you’re painting dynamics at the macro level.
10. Layered Space: Multiple Reverbs with Roles
Instead of one reverb doing everything, use specialized reverbs:
- Room Reverb (short, 0.4–0.8s): cohesion and presence.
- Plate Reverb (1–2s): vocals, lead instruments.
- Hall/FX Reverb (2–5s): transitions, atmospheres.
Routing Strategy
- Room: small send from drums, guitars, vocals.
- Plate: focused on vocals and lead instruments.
- Hall: automated sends in breakdowns and intros.
This layered approach creates a 3D field instead of a single, smeared wash.
Putting It Together: A Cinematic Mix Pass
Try this workflow on your next track:
- Do a clean technical mix first: balance, EQ, compression, basic space.
Add motion layers:
- Auto-pan on pads - Dynamic delays on vocals - Multiband sidechain on bass
Design transitions:
- Trash Bus moments - Evolving reverb and delay tails 4. Polish with M/S EQ and mix bus automation.
You’ll end up with a mix that not only sounds balanced, but feels like a story unfolding in sound.
Cinematic doesn’t mean orchestral—it means intentional movement. Use these techniques to make any genre feel alive.