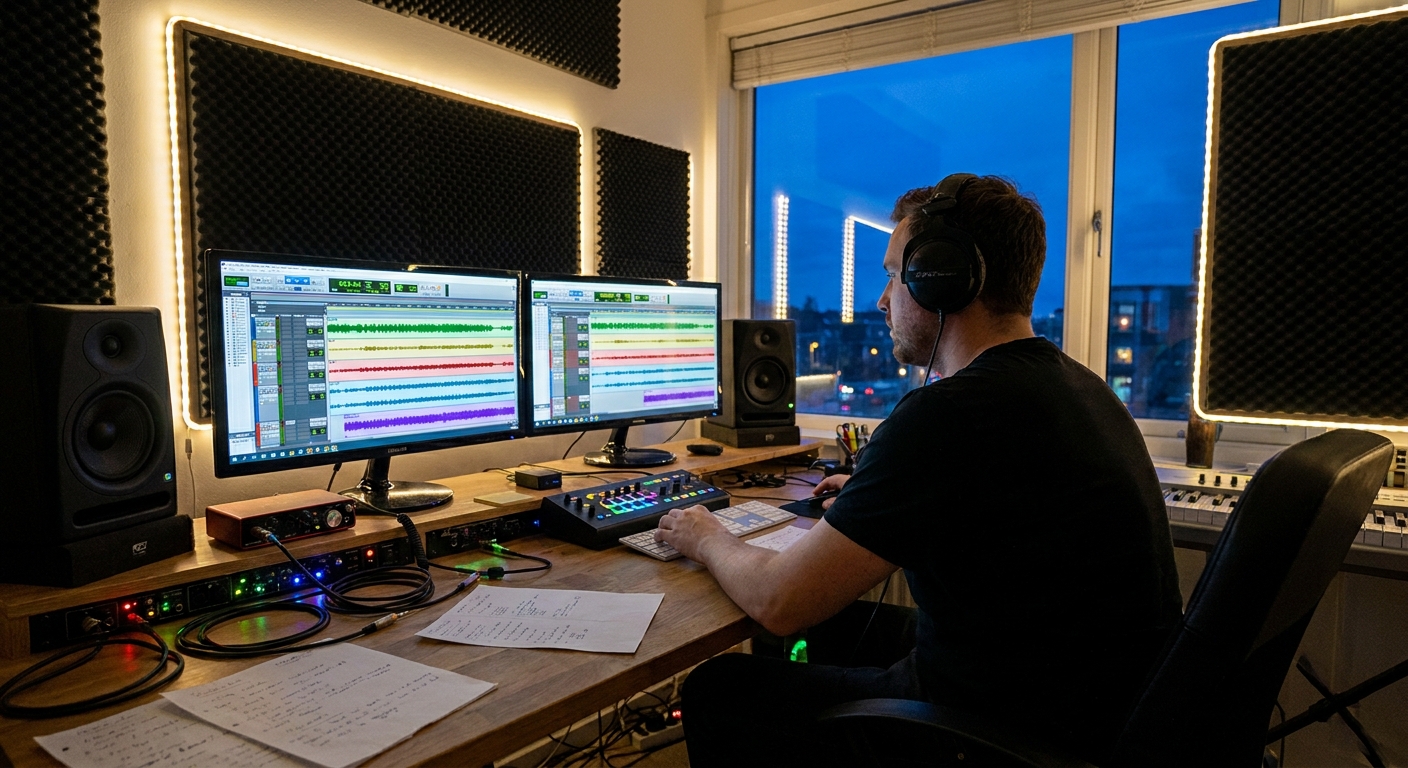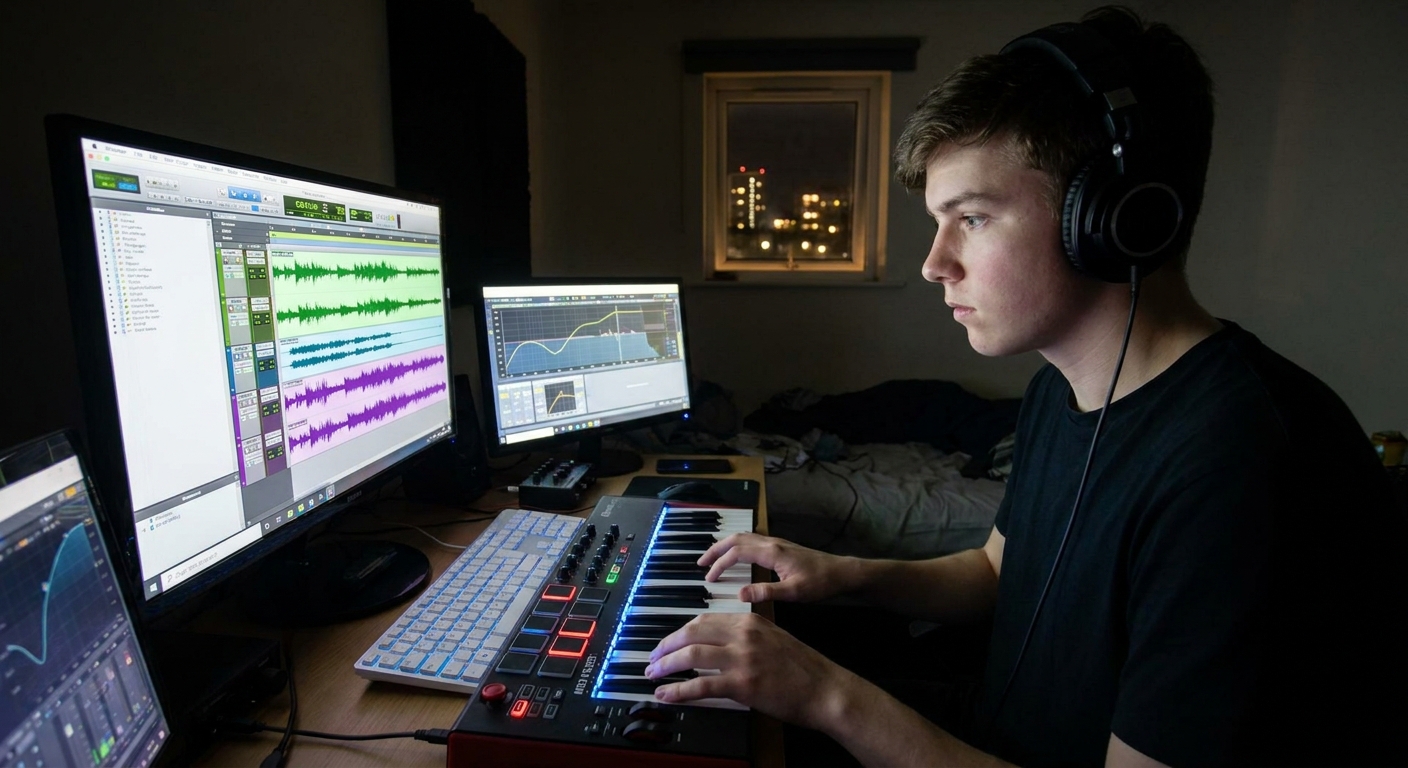
You don’t need a million-dollar room to produce a solid master.
Introduction
While elite mastering engineers bring decades of experience and world-class monitoring, many producers today need a reliable, in-the-box mastering workflow to get their music competitive, consistent, and release-ready.
This article walks you through a song-first, practical mastering chain that works in any DAW, with specific tips for Ableton Live, FL Studio, Logic Pro, and Pro Tools.
1. Mixing vs. Mastering: Don’t Blur the Lines
Before touching a limiter, be clear on the job:
- Mixing: Balance and sculpt individual elements.
- Mastering: Optimize the stereo mix for translation and context (album, playlist, format).
- Small tonal imbalances (too dark/bright)
- Slight dynamic inconsistencies
- Overall loudness and stereo spread
- Bad arrangements
- Masked vocals
- Clipping drums
- Extreme frequency build-ups
What Mastering Can Fix (Sometimes)
What Mastering Shouldn’t Be Asked to Fix
If you’re having to do more than 2–3 dB of drastic EQ or compression at mastering, revisit the mix.
2. Prepare Your Mix for Mastering
Peak and Loudness Targets
- Aim for peaks around -6 dBFS on the mix bus.
- Integrated loudness typically anywhere from -18 to -12 LUFS before mastering (genre-dependent).
- Sample rate: stay at project rate (44.1 or 48 kHz; higher if you worked there).
- Bit depth: 24-bit (or 32-bit float if your DAW supports it).
- No dither yet—that’s for the final export at 16-bit.
- Ableton / FL / Logic / Pro Tools:
- Ensure no limiters or clippers on the master during mix export.
- Turn off any “Normalize” options in the export dialog.
Export Settings
DAW Tips
3. The Mastering Session Setup
Create a fresh project dedicated to mastering.
- Import your stereo mix at unity gain (0 dB on the fader).
- Leave at least 6 dB of headroom on your master meter initially.
- Set up reference tracks on separate channels.
Referencing Workflow
- Route references straight to the master output, bypassing your mastering chain.
- Level-match references to your unmastered mix using a simple gain plugin.
In Ableton, for example, you can create a separate output bus for refs, or simply bypass the master chain when soloing reference tracks.
4. A Song-First Mastering Chain
Here’s a practical, minimal chain that covers most needs:
Gain / Trim (Optional)
Surgical EQ
Broad Tone-Shaping EQ
Bus Compression (Glue)
Saturation / Exciter (optional)
Stereo Imaging (subtle)
Limiter
Metering (throughout, pre- and post-limiter)
Let’s break it down.
5. Surgical EQ: Remove Problems, Don’t Redesign the Mix
Use a transparent linear-phase or clean digital EQ.
Targets
- Resonant rings (narrow notches, 2–6 kHz common in harsh mixes).
- Excessive low-end build-up (below 30 Hz in most genres).
- High-pass at 20–30 Hz (gentle slope) to remove inaudible rumble.
- Tiny notches (1–3 dB) on specific harsh frequencies—only if consistently problematic.
Example Moves
Plugins: FabFilter Pro-Q 3, stock linear-phase EQs, DMG Equilibrium.
Keep it minimal. If it takes more than a few precise moves, fix the mix.
6. Tone-Shaping EQ: Paint the Overall Color
This is musical, broad-stroke work.
Common Adjustments
- +1–2 dB at 10–15 kHz for air.
- -1–2 dB at 250–350 Hz if muddy.
- +0.5–1.5 dB at 60–100 Hz for weight (if needed).
Use wide Q curves and listen in context, comparing to reference tracks at matched levels.
Try:
- Pultec-style EQs (UAD, Waves, stock vintage EQs).
- FabFilter Pro-Q 3 in natural phase with wide bells/shelves.
7. Bus Compression: Gentle Glue, Not Clampdown
Use a slow, transparent compressor to add cohesion.
Settings to Start With
- Ratio: 1.5:1–2:1
- Attack: 20–30 ms
- Release: Auto or 100–300 ms
- Gain Reduction: no more than 1–2 dB on peaks
- Enhanced groove.
- Slightly more “together” feel.
- No pumping or loss of punch.
- Ableton: Glue Compressor on the master.
- Logic: Vintage VCA or SSL-style bus comps.
- FL: Maximus used gently; or a third-party SSL bus comp.
- Pro Tools: Avid Pro Compressor, or SSL emulations.
Listen for:
Examples:
8. Subtle Saturation & Exciters
Saturation can add perceived loudness and richness.
Where to Use
- After gentle compression, before limiting.
- Slight harmonic enhancement.
- Extra density in mids and lows.
- Softube Saturation Knob (simple and effective).
- FabFilter Saturn.
- Slate VTM, UAD tape emulations.
Goals
Plugins:
Keep mix comparisons level-matched when A/B-ing saturation on/off.
9. Stereo Imaging: Respect the Mono Backbone
Don’t chase width at the expense of mono compatibility.
Safe Practices
- Below 120 Hz: keep mostly mono. Some imaging tools allow frequency-specific processing.
- Any widening should be subtle (1–10% changes, not 50%).
- iZotope Imager, Ozone Imager.
- Waves S1.
- Many stock imager tools in modern DAWs.
Plugins:
Check mono regularly. If important elements vanish or the low end collapses, you went too far.
10. Limiting: Competitive Loudness Without Carnage
The limiter is the last line.
Process
- Start with ceiling at -1 dBTP (true peak) for streaming safety.
Increase input/threshold slowly while watching:
- Integrated LUFS - True peak - Audible distortion or pumping
Genre Reference Loudness (Rough, Not Rules)
- Pop/EDM: -9 to -7 LUFS
- Hip Hop/Trap: -10 to -8 LUFS
- Rock/Indie: -11 to -8 LUFS
- Acoustic/Jazz/Classical: -16 to -12 LUFS
- FabFilter Pro-L 2 (excellent metering & modes).
- iZotope Ozone Maximizer.
- Good stock limiters in Logic, Pro Tools, and others.
- You gain little benefit in loudness vs. damage in punch.
- Compare with references at matched loudness.
Plugins
Push until:
11. Metering: Trust Your Ears, Verify with Numbers
Use a dedicated meter plugin:
- LUFS (Momentary, Short-Term, Integrated)
- True Peak
- Stereo Correlation & Phase
- Spectrum Analyzer
Good options: Youlean Loudness Meter (free), FabFilter Pro-L 2 meters, iZotope Insight.
DAW Integration
- Ableton/FL/Logic/Pro Tools: put the meter last in the chain.
Remember: meters inform; they don’t decide. Always A/B at matched loudness.
12. Dithering & Final Export
If you’re exporting to 16-bit (CD or some distribution formats), you should dither.
Rules
- Dither once, at the final bit-depth reduction.
- If using Ozone or a limiter with built-in dither, let it handle it.
- 16-bit / 44.1 kHz WAV for CD.
- 24-bit / original sample rate WAV for most digital distributors.
Export:
13. A Simple, Repeatable Mastering Checklist
- Import mix into a fresh project.
- Set up references and level-match them.
- Surgical EQ: remove obvious problems.
- Tone EQ: gentle broad enhancements.
- Bus compression: add small glue.
- Optional saturation: subtle density.
- Stereo imaging: tiny width adjustments.
- Limiting & metering: reach appropriate loudness without audible damage.
- Check translation on headphones, monitors, phone, car.
- Export with proper dither when going to 16-bit.
Conclusion
Mastering in the box is about consistency, restraint, and referencing, not magic knobs.
Build a simple chain, make small moves, and compare constantly against well-mastered songs in your genre. Your masters will become more reliable, more musical, and more ready for the real world—without needing a separate building for a mastering suite.