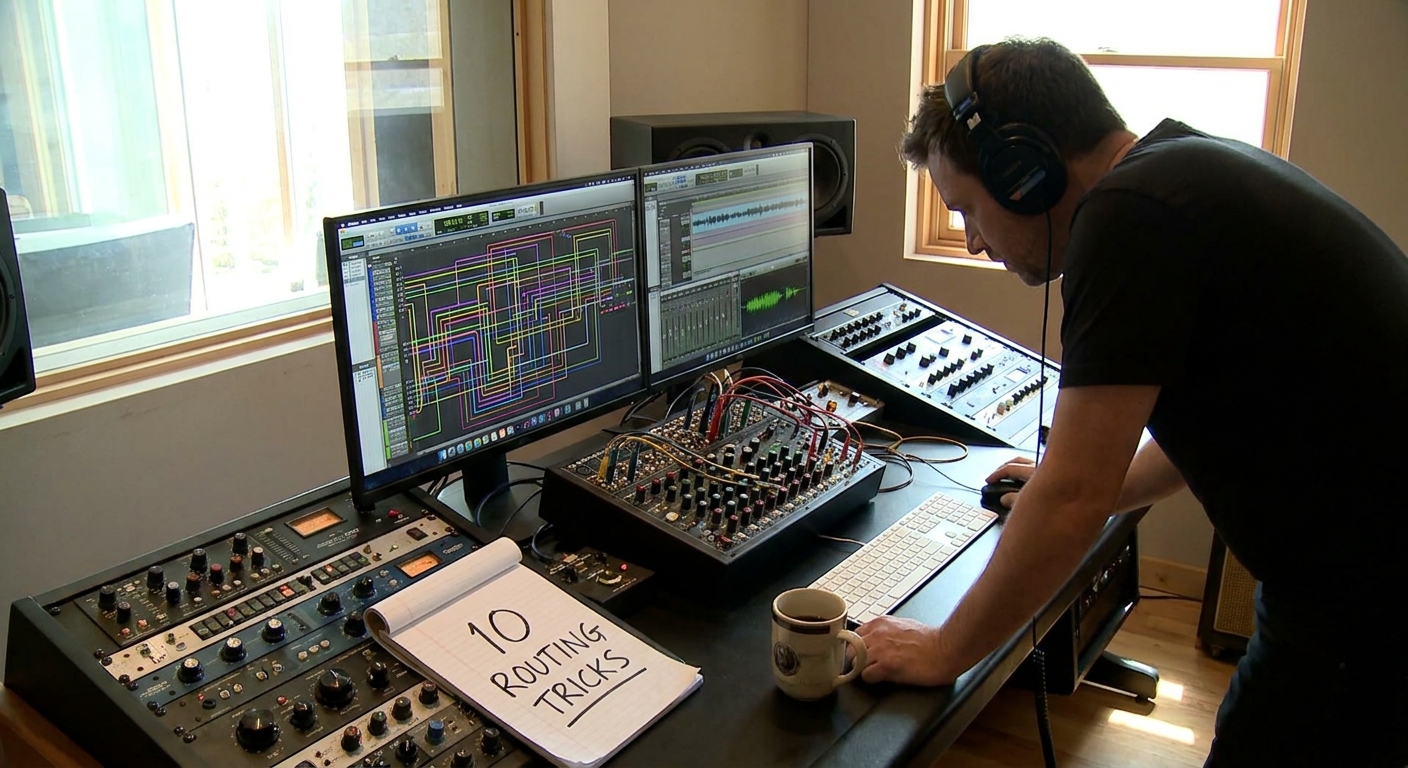
Routing is where boring mixes go to become exciting. You already know how to add an EQ and a compressor to a track; this guide focuses on bus-based tricks you can build in any DAW—Ableton, FL Studio, Logic, Studio One, Cubase—that give you mix control and creative firepower.
Introduction
Each recipe includes the signal flow concept, a plugin chain suggestion, and how to implement it in popular DAWs.
1. Parallel Drum Crush Bus
Goal: Add weight and aggression to drums without ruining their transient clarity.
Routing:
- All drum tracks → Drum Bus (clean)
- Send Drum Bus to Drum Crush Bus (parallel)
Plugin Chain on Drum Crush Bus:
Fast compressor (10–20 dB GR)
Saturation/distortion
EQ to tame 2–5 kHz harshness
Blend Drum Crush Bus under the clean Drum Bus to taste.
DAW Notes:
- Ableton: Create a Return track named "DRUM CRUSH"; send drums there.
- FL: Route drum Mixer channels to both DRUM BUS and DRUM CRUSH via routing arrows.
- Logic: Use a Bus send from the Drum Bus feeding an Aux with the crush chain.
2. Vocal Space Bus (Reverb + Delay in Series)
Goal: Cohesive, cinematic vocal ambience that stays out of the way.
Routing:
- Vocal tracks → Vocal Bus
- Vocal Bus → send to Vocal Space Bus
Plugin Chain on Vocal Space Bus:
EQ (high-pass around 200–300 Hz; low-pass 8–10 kHz)
2. Reverb (plate or hall, 1.5–2.5s)
Stereo Delay (1/4 or 1/8 synced, low feedback)
Additional EQ/De-esser if sibilance builds up
Control the send level from the Vocal Bus to control overall depth.
3. New York Vocal Compression
Goal: Present, radio-ready vocals with density but still natural dynamics.
Routing:
- Vocal tracks → Vocal Bus (main processing)
- Vocal Bus → send to Vocal Parallel Bus
On Vocal Bus (main):
- Light compression (2–4 dB GR)
- Gentle EQ, tonal shaping
On Vocal Parallel Bus:
- Heavy compression (8–15 dB GR, fast attack)
- Optional saturation
- High-pass at 150 Hz to avoid mud
Blend the Vocal Parallel Bus under the main Vocal Bus until it feels "locked" to the front of the mix.
4. Multiband Bass Bus (Sub + Midrange Split)
Goal: Control low-end tightness and midrange character independently.
Routing:
- Bass instrument(s) sent to:
- Sub Bass Bus (low frequencies)
- MID Bass Bus (mid/high frequencies)
Use either DAW-native splitters (FL Patcher, Ableton Racks, Studio One Splitter) or duplicate tracks with filter-based splits.
Sub Bass Bus:
- Low-pass at ~120 Hz
- Light compression
- Mono-ize with utility plugin
MID Bass Bus:
- High-pass at ~120 Hz
- Saturation/distortion for harmonics
- Wider stereo image if desired
Combine both into a Master Bass Bus.
5. Pre-Master Mix Bus FX Chain
Goal: Mix into gentle glue and tone that makes balancing easier.
Routing:
- All buses (Drums, Bass, Music, Vocals, FX) → MIX BUS
- MIX BUS → Master Output
Plugin Chain on MIX BUS:
Tilt EQ (subtle bright or dark tilt, ±1 dB)
Bus compressor (1–2 dB GR, slow attack, auto/medium release)
Subtle saturator (tape or console flavor)
Mix into this from the very beginning; don’t slap it on at the end.
6. FX Movement Bus for Transitions
Goal: Reusable movement and tension for risers, sweeps, and special effects.
Routing:
- FX tracks (risers, impacts, whooshes) → FX BUS
- FX BUS → send to FX MOVEMENT BUS
Plugin Chain on FX MOVEMENT BUS:
Auto-pan or tremolo (tempo-synced)
Flanger/Phaser
Modulated filter (LFO on cutoff)
Reverb
Automate send levels into FX MOVEMENT BUS before drops, transitions, and breakdowns.
7. Sidechain Bus (Clean and Centralized Pumping)
Goal: Clean sidechain pumping without messy plugin duplication.
Routing Concept:
- Create a dedicated SIDECHAIN SOURCE track fed by your kick.
- Send the same SIDECHAIN SOURCE to any compressor’s sidechain input on bass, pads, synths, etc.
Implementation:
- Ableton: Use "Sidechain" input in Compressor. Choose the SIDECHAIN SOURCE track.
- FL: Use Fruity Limiter/Compressor with sidechain input from the kick or ghost trigger.
- Logic: Use the Side Chain dropdown at the top of compressors.
You can mute the audio of the SIDECHAIN SOURCE track if it’s just a ghost trigger.
8. Mix Check Bus (Lo-Fi Reality Check)
Goal: Quickly test how your mix translates to phones, laptops, and club systems.
Routing:
- MIX BUS → MIX CHECK BUS → Master Output
Plugin Chain on MIX CHECK BUS (all bypassed by default):
- Band-pass EQ (simulate phone: 200 Hz–5 kHz)
- Mono utility
- Tiny speaker simulation (optional)
Toggle these on occasionally to hear "worst-case scenario" playback without exporting.
9. Reverb Ducking Bus
Goal: Lush reverb that tucks out of the way during the dry signal, then blooms in the gaps.
Routing:
- Vocal Bus → send to Reverb Bus
- Insert Compressor on the Reverb Bus.
- Sidechain compressor from dry Vocal Bus.
Compressor Settings on Reverb Bus:
- Threshold so it ducks 3–6 dB when vocals hit.
- Medium attack and release so ducking feels musical.
This creates clear intelligibility plus big tail in the empty spaces.
10. Creative Parallel Distortion for Synth Leads
Goal: Add aggression and character without losing clarity.
Routing:
- Lead Synth → Lead Bus
- Lead Bus → send to Lead Dirt Bus
Plugin Chain on Lead Dirt Bus:
Distortion/Saturation (go heavy)
EQ to tame harshness
Optional chorus or micro-shift for width
Blend low under the Lead Bus. Automate the send so the lead gets dirtier in choruses and cleaner in verses.
Plugin Recommendations for Bus Work
- Compressors: SSL G-Master, FabFilter Pro-C 2, TDR Kotelnikov
- Saturation: Soundtoys Decapitator, FabFilter Saturn, Softube Saturation Knob
- EQs: FabFilter Pro-Q 3, TDR Nova, stock DAW EQs
- Reverbs: Valhalla VintageVerb, Valhalla Room, stock plates/halls
- Delays: Soundtoys EchoBoy, Delay modes in your DAW
Stock plugins are usually more than capable; these options add flavor.
How to Implement These Recipes Efficiently
Create a Master Template in your DAW with:
- Core buses: Drums, Bass, Music, Vocals, FX, Mix Bus - Common effect buses: Drum Crush, Vocal Parallel, Vocal Space, FX Movement - Sidechain Source track and ducking setups if you use them often.
Color-Code and Name Clearly
- Red: Drums - Blue: Bass - Green: Music - Yellow: Vocals - Purple: FX
- Save as Default Project/Template and stop wiring from scratch every time.
Final Thoughts
Bus routing is the Rosetta Stone between the old analog studio world and modern DAWs. Once you think in terms of signal paths and parallel lanes, creative mix moves become simple patches instead of complicated plugin stacks.
Steal two or three of these recipes, drop them into your template, and your next project will already feel more controlled, more exciting, and more “record-like” from bar one.