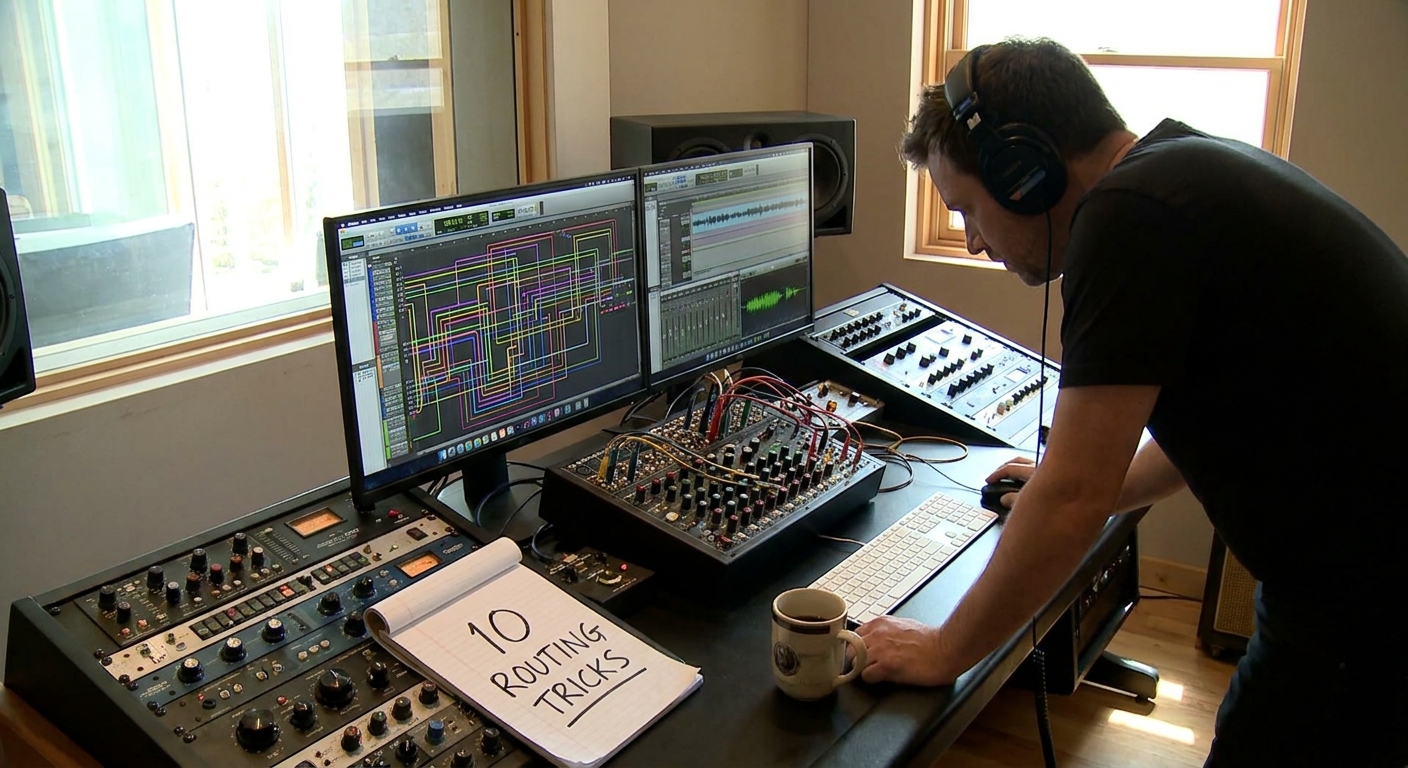
Most producers chase plugins before they understand how audio actually travels through their DAW. But the people who mix fast and confidently all think the same way: like there’s a giant analog console under the hood.
Why Signal Flow Is Your Secret Weapon
This article unpacks console-style thinking and shows you how to apply it in Ableton Live, FL Studio, Logic Pro, and Cubase using clear routing strategies, plugin chains, and creative bus tricks.
The Mental Model: From Microphone to Master Bus
Visualize a classic studio path:
Mic → Preamp → Channel Strip → Group Bus → Mix Bus → Tape/Print
Your DAW equivalent:
Track Input → Inserts → Sends → Group/Buses → Master Bus → Audio Interface/Export
If you can trace this for every element in your song, you can fix problems in seconds.
Track Level: Channel Strips in the Box
1. Inputs and Record Paths
- Audio track input: interface input (for vocals, guitars, hardware synths)
- MIDI/Instrument track: virtual instrument (no audio until after the synth)
DAW Examples
- Ableton: Set
Audio Fromto your interface input;Audio Tousually "Master". - Logic: Choose Input 1, 2, etc. on an Audio track; Instrument tracks use AU/VSTs.
- FL Studio: Route an input to a Mixer insert, then record from that insert.
2. Insert Slots = Channel Strip Modules
Treat your inserts like a console strip:
- Gain / Trim – set healthy levels; aim around -18 dBFS RMS.
- Cleanup EQ – high-pass, remove gross resonances.
- Dynamics – compression, gating.
- Tone Shaping – additional EQ, saturation, transient shaping.
- Utility – stereo tools, limiters for safety.
While exact order can vary, having a default chain speeds you up immensely.
Send Effects: Parallel Worlds
On a console, sends go to external gear (reverb units, delays). In your DAW, sends/Aux/Return tracks do the same thing.
Why Use Sends Instead of Inserts for Reverb/Delay?
- Shared ambience = glue between tracks.
- Easy global control over depth and space.
- Cleaner CPU usage vs. 17 reverbs on 17 channels.
Typical Send Setup
- Bus 1 / Return A: Short Room Reverb (drums/general)
- Bus 2 / Return B: Plate/Hall Reverb (vocals/leads)
- Bus 3 / Return C: Tempo-synced Delay
Set all these reverbs/delays to 100% wet, and control their amount with send levels from each track.
DAW How-To
- Ableton: Create Return Tracks; enable Sends knobs on tracks. Drag reverb/delay onto the Return.
- Logic: Use the Send slot on a channel strip (e.g., Bus 1). Logic auto-creates an Aux.
- FL Studio: Use extra Mixer tracks as FX buses; right-click the arrow under a track to route sends.
- Cubase: Add FX Channel Track; send from audio tracks via the Sends section.
Group/Buses: Your Virtual Sub-Mixers
Instead of processing 12 drum tracks individually, route them into a Drum Bus. This mirrors how console subgroups work.
Why Buses Matter
- Cohesive tone (EQ/compress multiple tracks together)
- Faster mix decisions ("More drums" = one fader)
- Cleaner automation (e.g., drop entire drum bus in a breakdown)
Core Buses to Create
- Drum Bus
- Bass Bus
- Music/Instrument Bus
- Vocal Bus
- FX Bus
Then everything flows: Track → Group Bus → Master
DAW Routing Examples
- Ableton: Select your drum tracks →
Ctrl/Cmd + Gto Group. Insert bus processing on the Group track. - Logic: Select tracks → Track Stack → Summing Stack. Use the Stack as your bus.
- FL Studio: Route drum Mixer channels to a free "DRUM BUS" Mixer track (right-click route arrow → "Route to this track only").
- Cubase: Create Group Channel → set output of drum tracks to this Group.
Master Bus: The Final Console Section
Your Master Bus is not where you fix everything. It’s your glue and polish stage, the virtual mix bus on a console.
Safe, Musical Master Chain
- Subtle EQ – tiny 0.5–1 dB moves for broad tone.
- Bus Compressor – 1–2 dB gain reduction for glue, slow attack.
- Saturation – small amount of harmonic color.
- Limiter – final loudness and overload protection.
Keep headroom during mixing: aim for peaks around -6 dBFS before limiting.
Advanced Console Tricks Inside a DAW
1. Parallel Compression Buses
Replicate "New York" drum compression:
- Create a Parallel Drum Bus.
- Send drums to it at 0 dB.
- On the parallel bus: heavy compression (10–20 dB GR), saturation.
- Blend the bus under your dry drum bus.
Works well in all DAWs using Aux/Return or dedicated Group tracks.
2. Pre-Fader vs Post-Fader Sends
- Pre-fader: Send level is independent of the channel fader. Great for monitor mixes or extreme effects.
- Post-fader (default): Send follows your fader moves; better for most mix effects.
Look for a pre/post toggle on each send (common in Ableton, Logic, Cubase; in FL this is handled via routing and levels).
3. Serial vs Parallel Saturation and Compression
- Serial: Two or more compressors in a row, each working lightly; smooth and controlled.
- Parallel: Blending a heavily driven path with the clean path; more aggressive and punchy.
Example vocal routing:
- Vocal Track → Vocal Bus (serial compressors, EQ)
- Vocal Bus → Parallel Aggression Bus (distortion, OTT, clipper) → back into Vocal Bus or straight to Master at low level.
Plugin Choices That Fit the Console Mindset
Channel Strip Plugins
These mimic analog console workflow with EQ, dynamics, sometimes saturation in one plugin.
- SSL-style strips (e.g., Waves SSL E-Channel, Brainworx bx_console) for punchy drums.
- Neve-style (e.g., UAD 1073, Arturia Pre 1973) for weighty mids on vocals and guitars.
EQ and Dynamics Standards
- FabFilter Pro-Q 3 – surgical and musical EQ.
- TDR Nova (free) – dynamic EQ with precise control.
- Klanghelm DC8C – deep, versatile compressor.
Saturation & Tape
- Softube Saturation Knob (free)
- Kazrog True Iron
- U-he Satin or Waves J37 for tape textures.
Use them like console coloration, not as problem solvers.
Putting It All Together: A Console-Style Mix Map
Here’s a sample routing map you can recreate in any DAW:
- Tracks
- Kicks, snares, hats, percussion → DRUM BUS
- Bass synths, bass guitar → BASS BUS
- Keys, pads, guitars, synths → MUSIC BUS
- Lead vocal, doubles, harmonies → VOCAL BUS
- FX hits, sweeps, risers → FX BUS
- Effects Sends
- Bus 1: Short Room Verb (drums)
- Bus 2: Plate Verb (vocals, leads)
- Bus 3: Stereo Delay
- Bus 4: Parallel Crush (for drums or vocals)
- Master
- Gentle EQ → Bus Comp → Saturation → Limiter
Once this is wired, you mix by moving buses and sends the way a console engineer would, instead of clicking into 60 different plugins.
Final Thoughts
Thinking like a console engineer turns your DAW from a plugin playground into a coherent studio. Start every project by asking:
> Where is this signal coming from, and where is it going?
When you can answer that instantly, patching creative ideas into your mix becomes second nature—no matter which DAW you open.