Every DAW has its quirks, but the core journey is the same: silence → idea → arrangement → mix → master. Once you understand that path and how signal flows inside your DAW, you stop fighting the software and start shaping records.
Introduction
This guide is a DAW-agnostic workflow blueprint aimed at producers using Ableton Live, FL Studio, Logic Pro, Cubase, Studio One, or similar. We’ll walk through a full song lifecycle with specific DAW techniques, routing concepts, plugin chains, and creative moves you can apply today.
Step 1: Build a Session Template That Feels Like a Studio
Why Templates Matter
Engineers don’t wire a studio from scratch for every session. Your DAW shouldn’t be any different. A smart template removes friction and keeps you in a creative headspace.
Core Tracks to Include
Create a default template with:
- Drums: Kick, snare, hats, percussion, FX
- Bass: Sub, mid-bass layer
- Harmony: Keys, pads, guitars
- Lead: Vocals or lead synth
- FX: Risers, impacts, reverses, textures
- Buses/Groups: Drums Bus, Music Bus, Vocal Bus, FX Bus, Master Bus
DAW-Specific Tips
- Ableton Live: Use Group Tracks for drums, instruments, vocals. Save as Default Set. Add Return A/B for reverb and delay.
- FL Studio: Name and color-code Mixer tracks (01 Kick, 02 Snare, etc.). Route related channels to dedicated Mixer buses.
- Logic Pro: Create Track Stacks (Summing Stacks) for Drums, Instruments, Vocals. Add Sends pre-configured on your template.
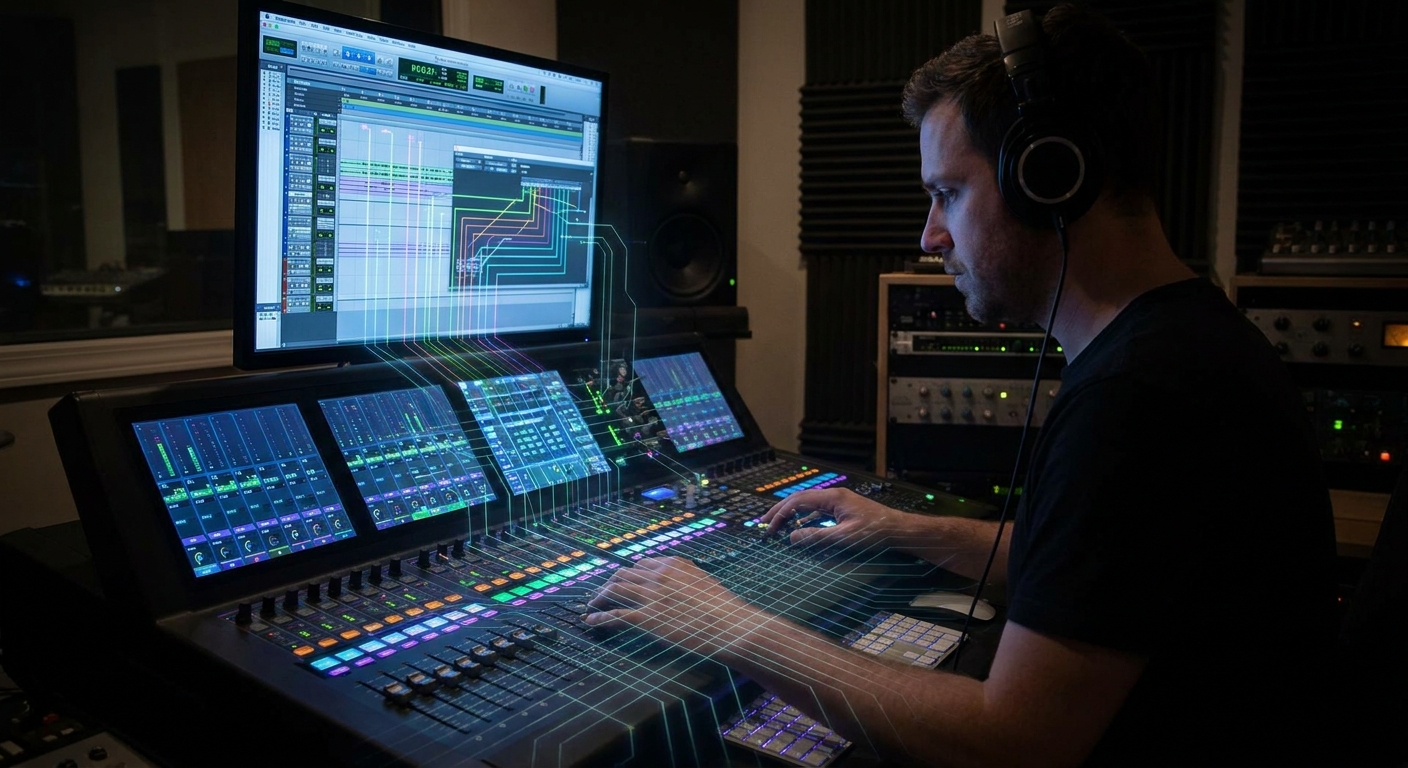
Step 2: Mastering Signal Flow – The Invisible Instrument
Understanding signal flow is like understanding your guitar’s wiring. You don’t see it, but it controls everything.
The Core Chain
Audio/MIDI Track → Inserts → Sends → Group/Buses → Master Bus → Audio Interface
Inserts
Plugins that affect the entire track signal in series (e.g., EQ, compressor, saturator).
Typical insert chain for a vocal or lead sound:
Cleanup EQ (high-pass, remove resonances)
Compression (control dynamics)
Tone EQ (add air, shape mids)
Saturation (harmonic excitement)
De-esser (control harshness)
Sends
Parallel processing lanes that keep the dry signal intact.
Common send effects:
- Reverb
- Delay
- Parallel compression
- Creative modulation (chorus, flanger, micro pitch)
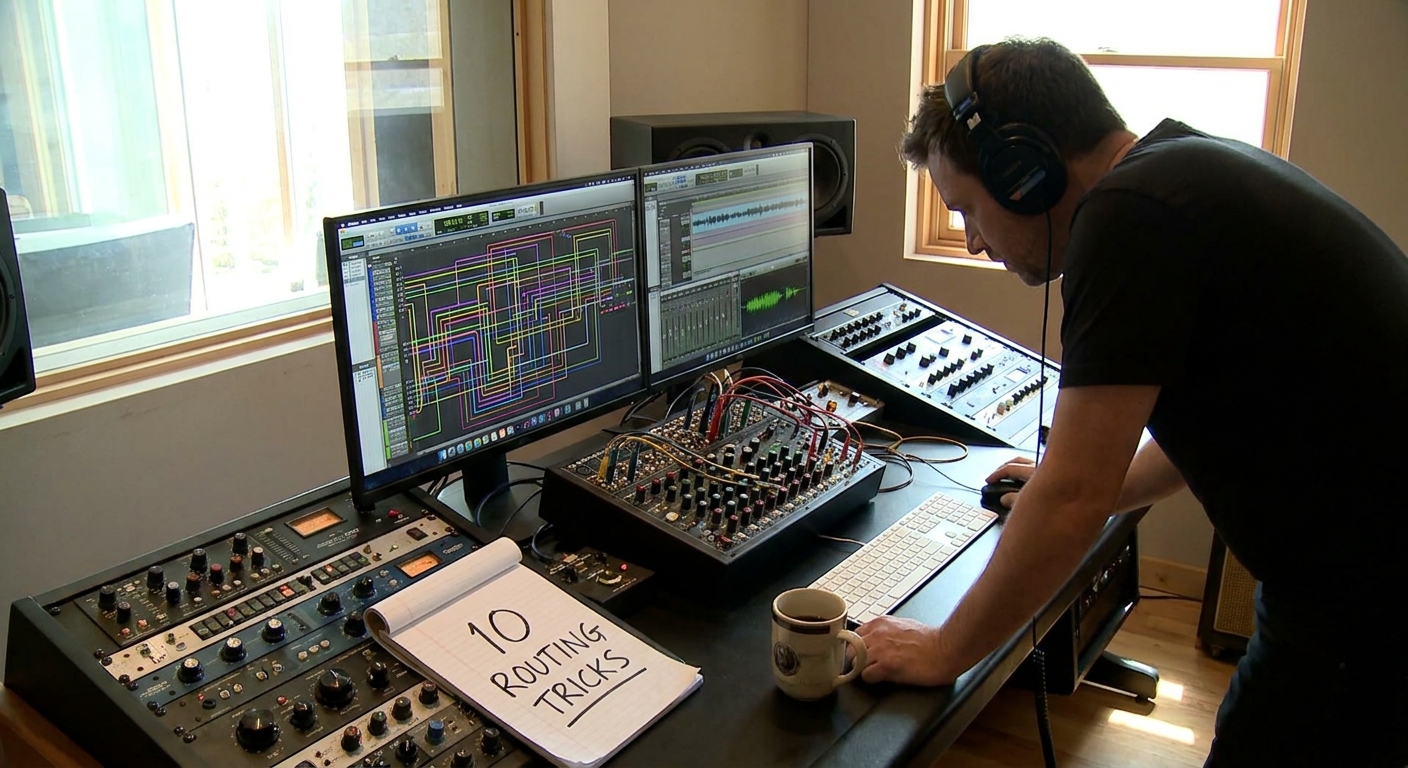
Practical Routing Example
- Kick → Inserts → Drum Bus → Master
- Snare → Inserts → Drum Bus → Master
- Vocals → Vocal Inserts → Vocal Bus → Master
- Drum Bus → Send A (Room Reverb)
- Vocal Bus → Send B (Plate Reverb), Send C (Stereo Delay)
DAW-Specific Moves
- Ableton: Use Return Tracks and enable "S" (Send) on each track. Map send knobs on your MIDI controller for live tweaking.
- FL Studio: Route multiple Channel Rack tracks to a single Mixer bus by right-clicking a Mixer track → "Route selected channels to this track."
- Logic: Create a Bus (e.g., Bus 1) from the Send slot. Logic auto-creates an Aux track. Insert your reverb/delay there.
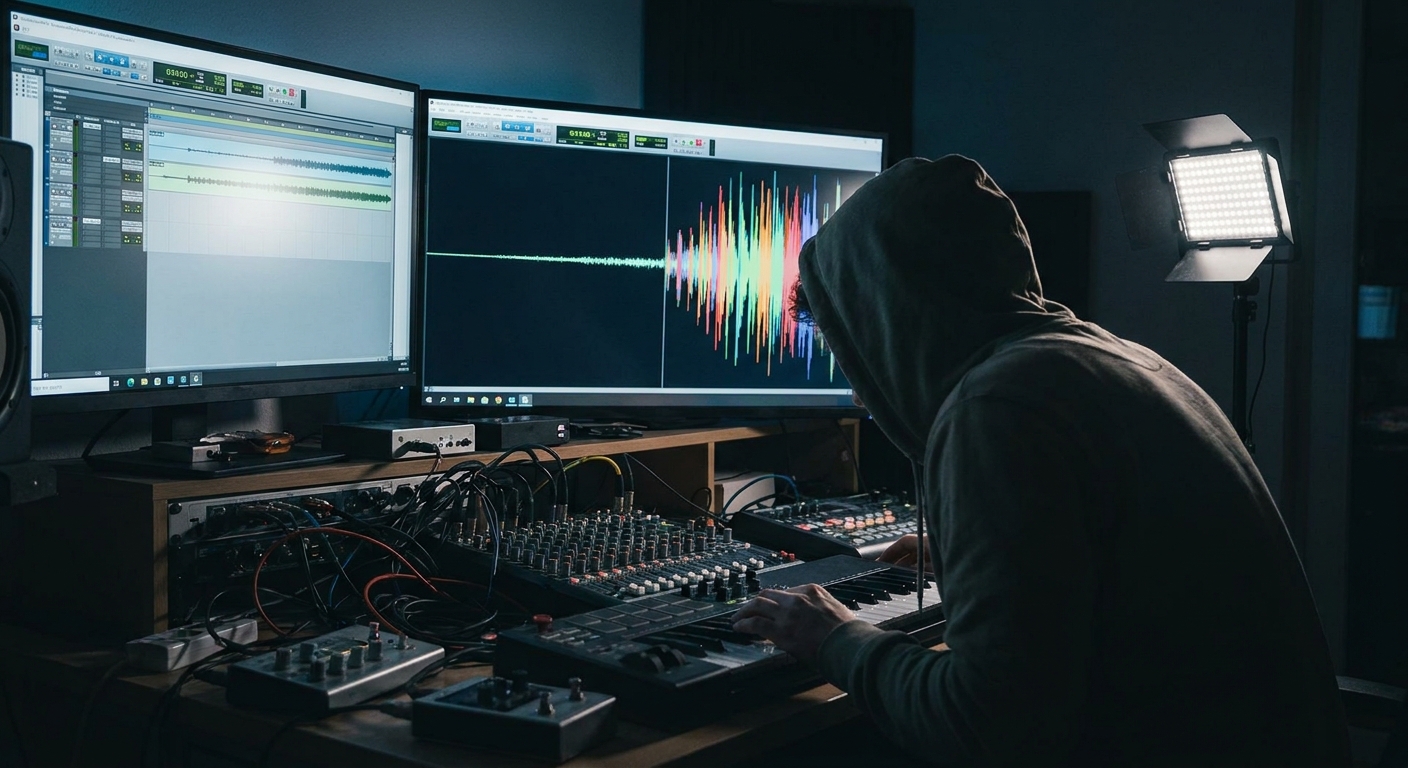
Step 3: Fast Idea Capture – Don’t Lose the Spark
MIDI First, Sound Design Second
When inspiration strikes, record the idea with any usable sound, then refine later.
Workflow Tricks
- Use a piano or basic poly synth as your default instrument on a MIDI track.
- In Ableton, keep a MIDI track with your favorite synth rack ready—just arm and play.
- In FL Studio, keep a "Sketch" pattern that routes to a simple piano in the Channel Rack.
Loop-Based Writing vs. Linear Writing
- Loop-based (EDM, hip-hop): Build an 8-bar loop with drums, bass, main hook, then expand.
- Linear (songwriting, scores): Record a full performance on a simple instrument, then orchestrate around it.
Try both in your DAW:
- Ableton’s Session View excels at loop-based ideas.
- Logic’s Live Loops or FL’s Playlist modes can do either style.
Step 4: Arrangement Techniques That Translate Across DAWs
Block Out Sections
Create markers:
- Intro
- Verse 1
- Pre-Chorus
- Chorus
- Verse 2
- Bridge
- Final Chorus / Outro
In most DAWs, you can add markers along the timeline:
- Ableton:
Ctrl/Cmd + Shift + Min Arrangement - Logic: Global Tracks → Markers
- FL Studio: Right-click top timeline → Add Marker
Energy Shaping Tricks
- Add energy: more layers, brighter sounds, transient enhancers, wider stereo.
- Reduce energy: filter cutoff down, remove kick, lower density of elements, mono-ize sounds.
Arrangement Moves by Section
- Verse → Chorus
- Automate filter cutoff to slowly open.
- Increase reverb send right before the drop, then immediately cut it.
- Add a reverse cymbal or snare swell into the chorus.
- Chorus → Breakdown
- Mute the kick for 1–2 bars.
- Low-pass the entire mix on a bus using an EQ automation.
Step 5: Plugin Chains That Just Work
Drums Bus Chain
Recommended order (works in any DAW):
Subtractive EQ (remove mud at 200–400 Hz if needed)
Bus Compressor (glue; 2–4 dB GR, slow attack, medium release)
Saturation (Subtle tape/analog-style warmth)
Clipper (catch transients before the master)
Plugin ideas:
- Free: TDR Kotelnikov (comp), Softube Saturation Knob, Variety of Sound FerricTDS
- Paid: FabFilter Pro-Q 3, SSL G-Master Buss Compressor, Soundtoys Decapitator, StandardCLIP
Vocal / Lead Chain
Noise Gate (if noisy recording)
Corrective EQ
Compressor 1 (fast, catching peaks)
Compressor 2 (slower, leveling performance)
Tone EQ (high shelf 8–12 kHz)
Saturation / Exciter
De-esser
Step 6: Creative Parallel Processing
New Textures Without New Tracks
Use sends and parallel chains to thicken and color your sounds:
- Parallel Crush Drums: Send drums to a bus → heavy compression and saturation → blend low.
- Vocal Widener: Duplicate vocal → detune ±6 cents, add micro-delay → pan L/R → low in mix.
- Bass Harmonics Bus: Duplicate sub bass → distort → high-pass at 150 Hz → blend for presence on small speakers.
DAW tip: Many DAWs support rack-style or parallel splits (Ableton Audio Effect Racks, FL’s Patcher, Logic’s Auxes). Use these for multi-lane processing.
Step 7: Mix-to-Master Mindset
Don’t Overload the Master
On your Master Bus, use processing gently:
- Subtle bus compression (1–2 dB GR)
- Broad EQ (tiny tonal shifts)
- Limiter (catch overs, gentle loudness target)
Leave -6 dB headroom if you’re sending to a mastering engineer.
Basic Master Chain (Inside the DAW)
EQ (clean low-end rumble, shape overall tone)
Comp (gentle glue)
Saturation (tiny amount for density)
4. Limiter (ceiling around -0.8 dB)
Step 8: Bounce, Re-Import, Refine
Print your track and then re-import it into a fresh session for perspective.
- Listen at low volume.
- Check on headphones, speakers, car, phone.
- Make 1–3 focused revisions, not 40 tiny tweaks.
Final Thoughts
Your DAW isn’t just a recorder—it’s the studio, the console, and the rack all in one. Once you understand signal flow, smart templates, and a repeatable song-building workflow, every project becomes faster and more musical.
Use this blueprint as a starting point, then customize it to your toolkit, whether you live in Ableton, FL Studio, Logic, Studio One, or Cubase. The rules of physics and sound are the same; your DAW is just the lens.