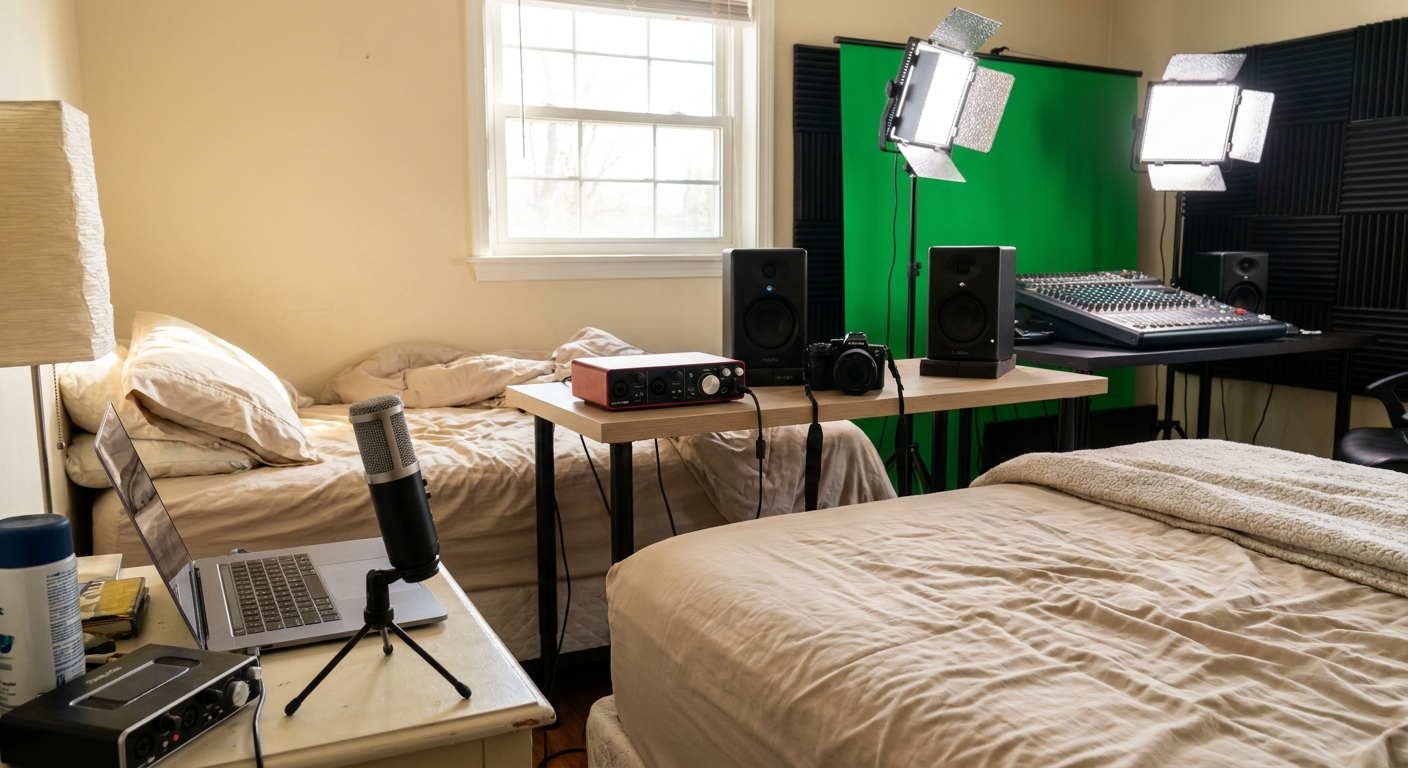
Scrolling through endless photos of immaculate studios can make your own setup feel hopelessly small. But great records come from clear priorities, not infinite gear.
Gear Fatigue Is Real—Here’s a Roadmap
This guide breaks down studio gear into budget tiers, showing what to buy when and why—and how to squeeze pro results from each stage using DAW-specific tactics and smart signal flow.
We’ll cover three tiers:
- Starter / Bedroom
- Serious / Project Studio
- Semi-Pro / Broadcast-Ready
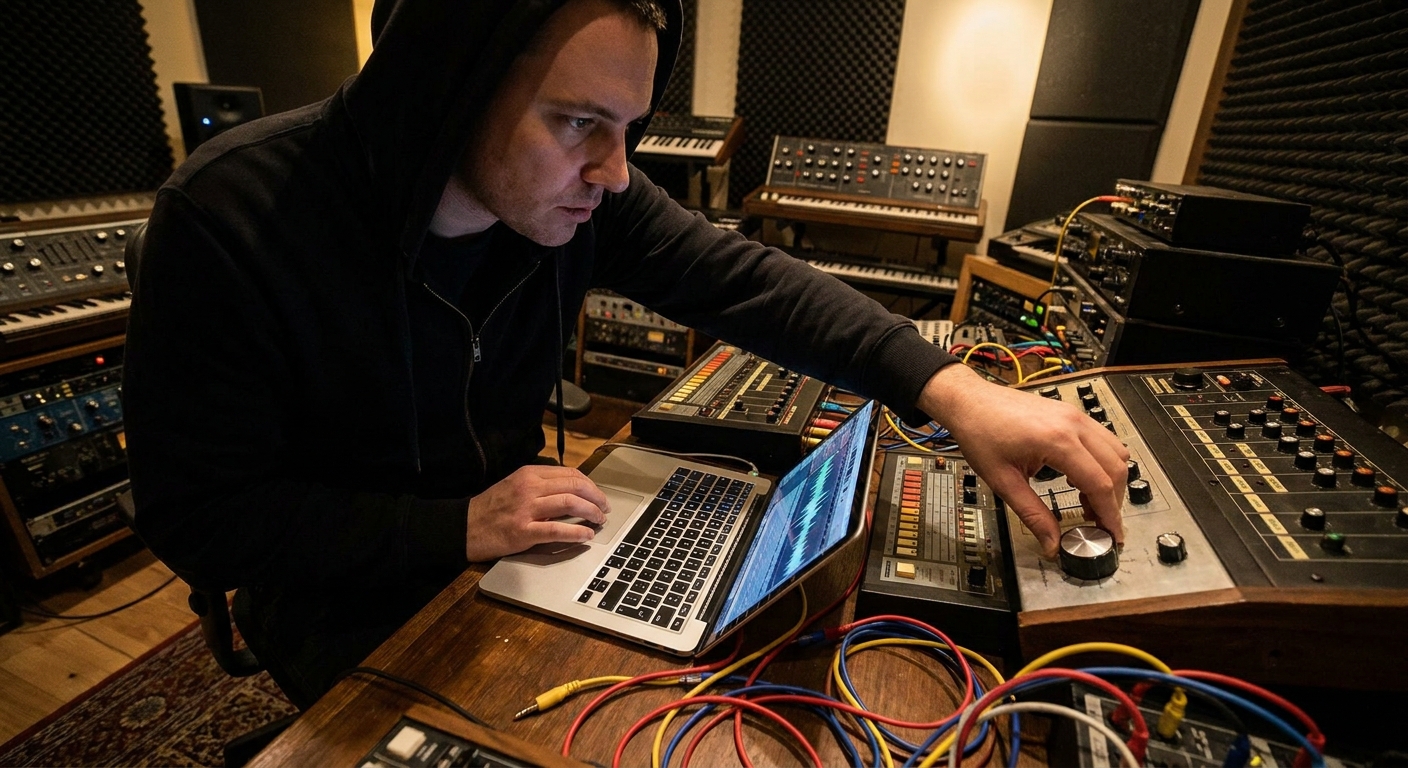
1. Tier One – Starter / Bedroom Studio
Core Priorities
At this stage, you need:
Reliable capture
Decent monitoring
A DAW you actually learn deeply
Essential Gear Checklist
- Audio Interface (2-in/2-out)
- One good all-round mic
- Closed-back headphones
- MIDI keyboard or pad controller (optional but helpful)
- Interfaces: Focusrite Scarlett Solo/2i2, Presonus Studio 24c
- Mics: Audio-Technica AT2020, Rode NT1, Shure SM58/SM57
- Headphones: Audio-Technica ATH-M40x, AKG K240, Sony MDR-7506
Good value picks:
Bedroom Signal Flow
Typical chain:
Vocal → Mic → Interface preamp → DAW input → Channel strip plugins → Mix bus → Headphones
You’re mainly in-the-box, which is fine. The key now is workflow.
DAW-Specific Starter Workflows
Ableton Live
- Build a basic vocal audio track template:
- Device chain: Utility (trim) → EQ Eight → Compressor → De-esser → Saturator
- Save as
Lead Vocal Basicpreset - Use Session View to quickly compare takes and comp manually
- Assign your mic input to a Mixer Insert
- Default chain: Fruity Parametric EQ 2 → Fruity Compressor → Fruity Limiter (for safety)
- Use Playlist lanes to record multiple takes and mute/solo for comping
- Use a Track Stack labeled
Vocalswith: - Lead track + backing tracks
- Shared reverb/delay buses
- Logic’s Quick Swipe Comping on take folders is your friend—use it to build best-of takes fast
- One audio track for recording, one playlist per take
- Use the Channel Strip plugin for complete EQ/comp in one slot
FL Studio
Logic Pro
Pro Tools
Creative Hacks at Tier One
- Record multiple vocal doubles and stack them lightly to thicken choruses instead of using heavy FX
- Use stock saturators on soft-synth basses to give them analog-esque weight
- Practice gain staging obsessively; it’s free quality
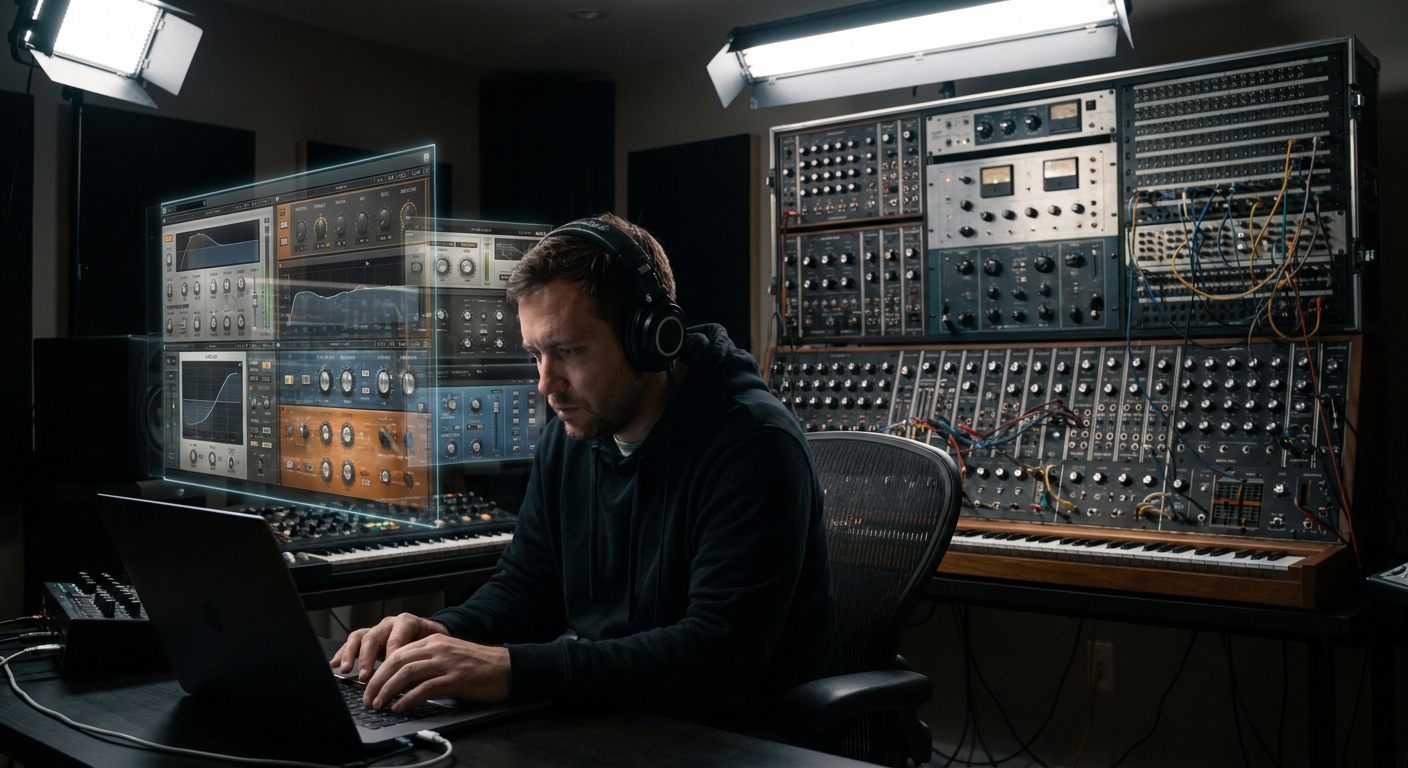
2. Tier Two – Serious / Project Studio
You’re finishing full songs, maybe releasing regularly. Now you invest in gear that helps with speed, accuracy, and vibe.
Priority Upgrades
Monitoring Environment
- Entry-level studio monitors (Yamaha HS5/7, KRK Classic 5, JBL 305P) - Some basic room treatment (DIY rockwool panels, bass traps)
Better Front End
- Slightly higher-end interface (MOTU M4, SSL 2+, UA Volt) - One character preamp or channel strip
Selective Plugins
- 1–2 top-tier EQs and compressors - A great reverb and saturation plugin
Expanded Signal Flow
Now it’s:
Source → Mic/DI → Character Preamp/Channel Strip → Interface Line In → DAW (EQ/Comp/Sat) → Bus Processing → Monitors
Your front end can add subtle coloration; your plugins refine and finish.
Bus-Based Workflow
Introduce buses to work faster:
- Drum Bus
- Music Bus (instruments)
- Vocal Bus
- FX Bus
DAW translations:
- Ableton: Group tracks (Ctrl/Cmd+G) and process on the Group
- FL Studio: Route multiple Channels to a dedicated Mixer Insert
- Logic: Send track outputs to Buses, then use Aux Channels as submixes
- Pro Tools: Use internal buses to route tracks to AUX inputs labeled
DRM,MUS,VOC
Plugin Recommendations at This Level
- EQ: FabFilter Pro-Q 3, SSL EV2/Channel Strips, or Crave EQ
- Compression: Pro-C 2, DMG TrackComp, or your DAW’s best stock comp
- Reverb: Valhalla VintageVerb, Seventh Heaven, or stock convolution reverbs
- Saturation: SoundToys Decapitator, FabFilter Saturn, Softube Saturation Knob (free)
Creative Workflows for Project Studios
Reference Track Matching
- Load a reference track in your DAW - Route to a separate output or disable master processing on it - Use match EQ or just your ears to calibrate low-end and brightness
Template Building
- Build genre-specific templates (trap, indie rock, EDM) with: - Pre-configured buses - Go-to FX sends (plate, hall, slapback) - Basic mix bus chain at conservative settings
Live FX Performance
- Use MIDI controllers to ride filter cutoff, delay feedback, or reverb sends in real time - Record this automation for organic movement
3. Tier Three – Semi-Pro / Broadcast-Ready
Now we care about translation and reliability. Your work might hit radio, playlists, or sync libraries.
High-Priority Investments
Monitoring & Room First
- Better monitors (Neumann KH80, Adam A7X, Focal Alpha) - Serious acoustic treatment, or room correction like Sonarworks
I/O & Hybrid Options
- Stable, low-latency interface with more I/O (RME, Apollo, MOTU) - A couple of key outboard pieces (preamp, comp, maybe a stereo bus unit)
Utility & Mastering Tools
- High-precision metering - Transparent limiter and dynamic EQ
Semi-Pro Signal Flow
Vocal Chain Example:
Mic → High-end Preamp/Channel Strip → Interface Line In → DAW Vocal Channel (minor EQ/comp) → Vocal Bus (glue + FX sends) → Mix Bus → Limiter → Monitors + Metering
Advanced DAW Techniques
Ableton Live
- Use Racks with Macro controls to expose key parameters from complex chains
- Create Mix Bus Rack: glue comp, tilt EQ, saturation, limiter (monitor-only)
- Set up submix routing with Patcher for modular processing on buses
- Use Edison for quick in-session resampling and printing stems
- Leverage Track Stacks for complete vocal/drum systems
- Use Smart Controls to macro important plugin parameters
- Use VCAs to control groups without messing bus processing
- Print stems via internal buses for easy revisions and alternate versions
FL Studio
Logic Pro
Pro Tools
Broadcast-Ready Tools
- Limiter: FabFilter Pro-L 2, IK Stealth Limiter, Ozone Maximizer
- Dynamic EQ / Multi-band: Pro-Q 3 dynamic, Pro-MB, Ozone, TDR Nova (free)
- Meters: iZotope Insight, Youlean Loudness Meter, NUGEN MasterCheck
Target streaming loudness around -10 to -14 LUFS integrated, depending on genre.
4. Upgrade Path: What to Buy Next (and What to Skip)
Always Upgrade in This Order:
Monitoring & Room
Front-End Quality (preamps, mics)
Key Software Tools (EQ, comp, limiter, reverb)
Outboard for Flavor
Skip for now:
- Excessive synths when you haven’t mastered the ones you own
- Dozens of overlapping compressor/EQ plugins
- Boutique outboard without enough I/O or recall strategy
5. Mindset: Your Ears Are the Real Studio Gear
At every budget tier, the most important upgrades are:
- Training your ears through critical listening and referencing
- Deeply learning one DAW and a small set of tools
- Designing repeatable workflows (templates, bus structures, naming conventions)
Your bedroom rig, used with intent and good signal flow, can embarrass a badly run “pro” room.
Start where you are, buy only what solves real bottlenecks, and let your studio grow with your music—not with your gear lust.