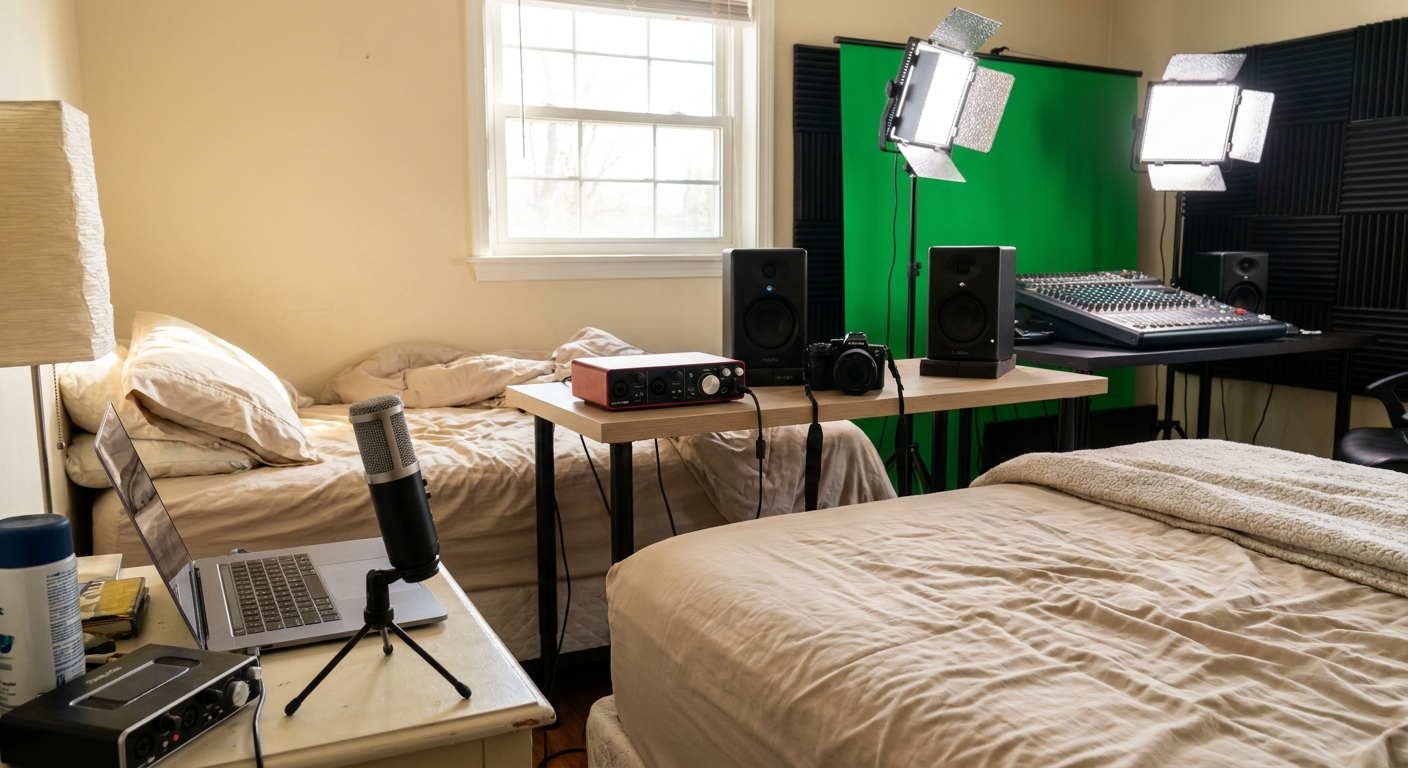
You don’t need racks of vintage gear to make great records, but purely in-the-box can feel… clinical. The sweet spot for many modern producers is hybrid: a smart mix of hardware and plugins where each does what it’s best at.
Why Hybrid Studios Are Winning
This guide shows you how to build and run a hybrid setup that’s musical, recallable, and DAW-friendly—whether you’re in Ableton, FL Studio, Logic Pro, or Pro Tools.
1. The Philosophy: Hardware for Feel, Plugins for Flexibility
Before buying anything, decide what jobs each side will handle.
Hardware tends to excel at:
- Saturation and non-linear tone
- Tactile performance (synths, samplers, controllers)
- Committing decisions on the way in
- Precise surgical processing
- Complex routing and automation
- Total recall and revisions
Plugins excel at:
Your goal isn’t to replace plugins or hardware—it’s to assign roles so they complement each other.
2. Smart Hardware Choices for Producers
Think in categories, not brands.
a) Front-End Tone Shapers
1–2 channels of quality analog front end change everything:
- Channel Strips / Preamps
- SSL SiX, Warm Audio WA12, Focusrite ISA One
- For vocals, guitars, bass, mono synths
- Hardware Compressor (Optional But Fun)
- FMR RNC, dbx 160A, WA-76
- Great for moderate compression while tracking
Use them sparingly: 2–4 dB of gentle compression or saturation going in is usually enough.
b) Character Synths and Sound Sources
Even one hardware synth or groovebox can define your sound:
- Affordable workhorses: Korg Minilogue, Behringer DeepMind, Roland Boutiques
- Groove-oriented: Elektron Model:Samples, Novation Circuit
Record them as audio, not just MIDI—that’s where the hybrid magic starts.
c) Controllers as “Gear”
MIDI controllers are studio gear, too:
- Pad controllers (Push, Maschine, Launchpad) for drums and clips
- Knob/fader boxes (KORG nanoKONTROL, FaderPort) for live mixing and automation
3. Routing Hardware In and Out of Your DAW
Inputs: Recording Hardware into the Box
Essential steps (any DAW):
Connect synths/outboard to interface line inputs
Set appropriate line level (not instrument) on your interface
Create audio tracks with input monitoring
Set buffer low for performance; higher for heavy mixing sessions
Ableton Live
- Use External Instrument device for MIDI + audio return in one track
- Set
MIDI ToandAudio Fromto the appropriate interface I/O - Use MIDI Out for hardware synth control
- Route audio return into Mixer Insert and arm an Audio Clip track for recording
- Use External Instrument plugin to combine MIDI with live audio
- Create an audio track in parallel if you want to print takes
- Create Aux Input for live monitoring of hardware
- Bus that aux into an Audio Track when you’re ready to record
FL Studio
Logic Pro
Pro Tools
Outputs: Using Hardware as External FX
You can use outboard compressors, reverbs, or EQs like plugins.
General idea:
Send from DAW to interface output
Patch that output into hardware input
Return hardware output to interface input
Create an insert/send/aux in your DAW using those I/O
Watch out for:
- Feedback loops (never route the return back to the same output)
- Gain staging: treat hardware like any plugin—avoid clipping
- Latency: most DAWs have delay compensation for external gear
4. Latency, Delay Compensation, and Staying in Time
Measuring Round-Trip Latency
If your DAW doesn’t auto-compensate well:
Send a sharp transient (click) out to hardware and back in
Record it on a track
3. Measure sample offset vs. original
Enter correction into your DAW’s external device settings
Ableton: Preferences > Audio > Hardware Latency adjustment in External Instrument.
Logic: I/O Plugin has sample delay setting per instance.
FL Studio: Use PDC (Plugin Delay Compensation) and manual track offset where needed.
Pro Tools: Hardware Insert Delay can be set in I/O Setup.
5. Hybrid Mixing: Where the Fun Really Starts
You don’t need every track hitting hardware. Pick roles:
- Hardware Tasks
- Bus compression for drums or mix bus
- Character saturation on vocals or bass
- Plugin Tasks
- Surgical EQ on problem frequencies
- Detailed automation, dynamic EQ, multi-band processing
Example Hybrid Mix Flow
Drums, bass, music, vocals → DAW submix buses
Send Drum Bus to hardware compressor
Return compressed drums to new Drum HW Return track
Blend original Drum Bus (dry) and Drum HW Return (wet)
Use plugins for final tone shaping on the Drum Bus Group
This gives you hardware character with plugin precision and recall.
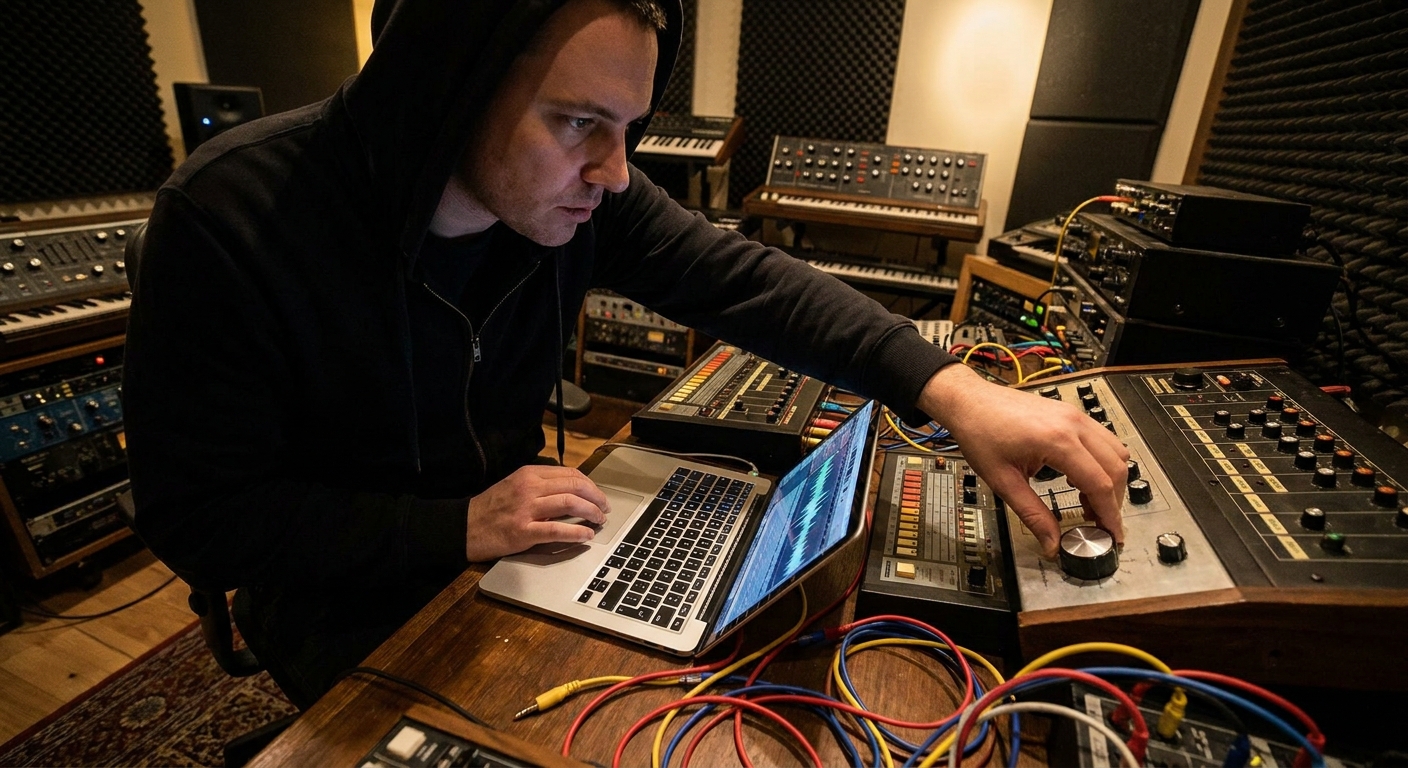
6. Creative Hybrid Workflows
a) Performance-Based Sound Design
Sequence a hardware synth from your DAW
Perform filter and envelope tweaks on the synth live while recording audio
Slice, warp, and re-sample the recording inside your DAW
Now you have an audio-only sound that’s difficult to replicate with presets.
b) Analog Re-Amping for ITB Sounds
Send software instruments out through:
- Guitar amps + microphones
- Pedals (overdrive, chorus, delay)
- Color boxes (compressors, saturators)
Then record them back in as new audio layers. Dirty, imperfect, unique.
c) Parallel Hardware Chains
Duplicate a key stem (like the Vocal Bus)
Route the duplicate out to an aggressive hardware chain
- E.g., Warm Audio 76 → analog EQ
Return as Vocal Smash track
Blend with clean digital vocal for density and energy
7. Recall and Session Management: The Hard Part Made Easy
Hybrid only works if you can recall your projects.
Best practices:
- Save hardware presets where possible
- Take photos of front panel settings per song
- Keep a
Notestext file in your session folder describing routing and key hardware settings - Use color coding and naming for any hardware-related tracks (e.g.,
DRM BUS HW SND,VOCAL SMASH OTB) - External Instrument / I/O plugins set up
- Aux returns for hardware FX
- Color-coded hardware return tracks
Logic, Pro Tools, Ableton, and FL Studio all let you save project templates. Build templates that already have:
8. A Minimalist Blueprint for Your First Hybrid Rig
If you’re just starting, here’s a powerful but lean setup:
Audio Interface with at least:
- 4 line inputs - 4 line outputs
One Character Preamp or Channel Strip
One Hardware Compressor (or a pedal that compresses/saturates)
One Hardware Synth or Groovebox
Your existing plugins and DAW
From there, upgrade monitoring and room before buying more toys.
Final Thoughts
Hybrid studios aren’t about owning mountains of gear—they’re about leveraging a few well-chosen analog pieces alongside powerful plugins.
If you:
- Assign clear roles to hardware vs software
- Build clean, reliable I/O paths
- Commit performances and tones with intention
- Document settings for recall
…your studio becomes a flexible, inspiring instrument instead of a wiring nightmare. Start small, design workflows on purpose, and let your hybrid rig evolve with your music—not your impulse purchases.