You’ve got an incredible 8-bar loop. Great drums, a hooky synth, maybe even a vocal idea. Then you try to turn it into a full song and everything falls flat.
Why Your Best 8-Bar Loop Keeps Getting Stuck
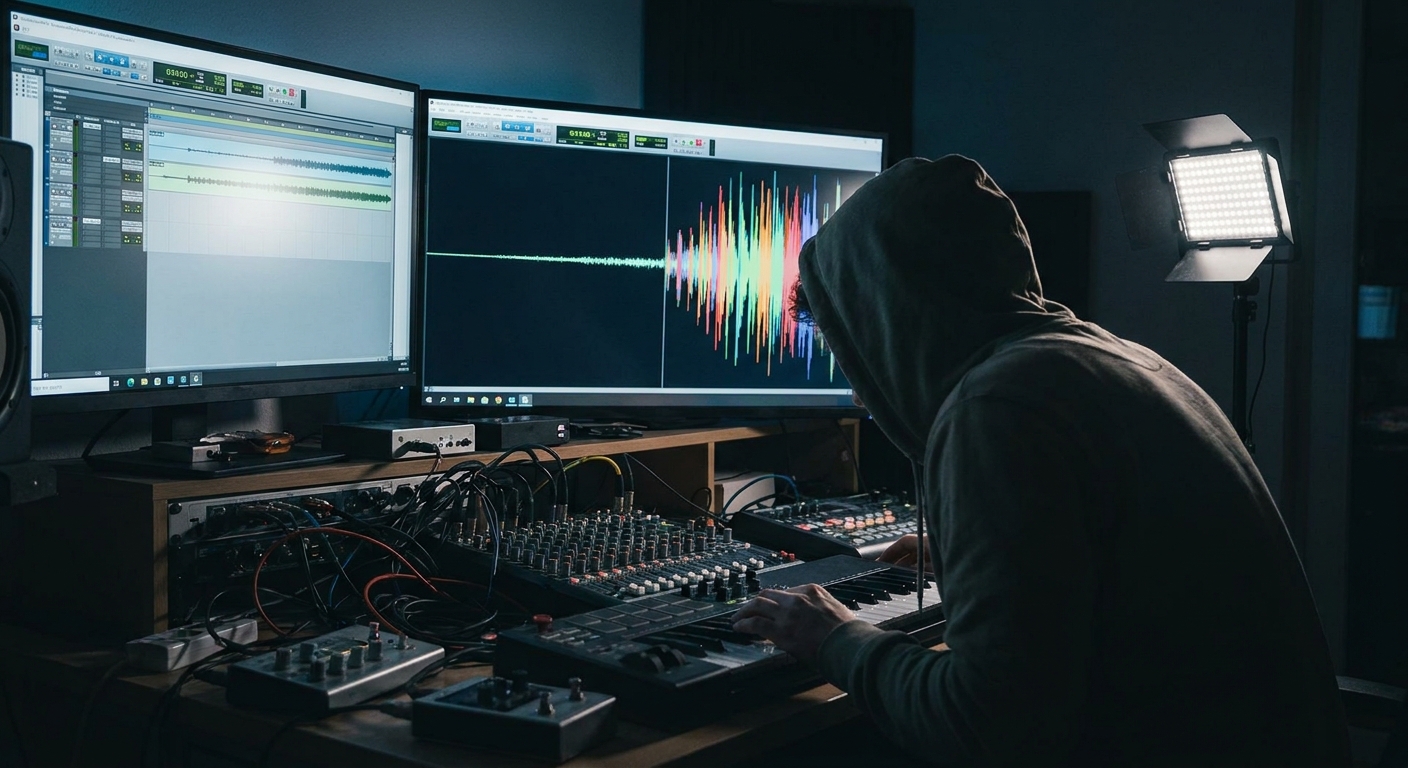
The missing link isn’t another plugin; it’s arrangement and automation—how your DAW shapes energy over time.
This guide gives you a structured way to grow loops into full tracks using Ableton, FL Studio, Logic, Studio One, or Cubase, with specific tools and workflows in each.
Step 1: Commit to a Core Loop
Before you arrange, lock one core loop that represents your track’s peak energy:
- Final(ish) drum groove
- Bass pattern
- Main hook (synth or vocal)
- Supporting chords or textures
Save this as your "Chorus" or "Drop" block in the DAW.
DAW Tips
- Ableton: Build the loop in Arrangement or Session. Consolidate to 8–16 bars.
- FL Studio: Assemble the full loop across patterns in the Playlist.
- Logic: Use Cycle Mode to perfect an 8–16 bar region.
Step 2: Clone and Strip for Sections
Duplicate your core loop horizontally to sketch: Intro → Verse → Pre → Chorus → Bridge → Chorus.
Then subtract elements in each section to carve a dynamic shape.
Typical Section Recipes
- Intro: No main hook, minimal drums, lighter bass. Feature ambience or a single motif.
- Verse: Pull back drums (simpler pattern), keep vocals or main narrative.
- Pre-Chorus / Build: Increase rhythmic tension, add FX, filter sweeps.
- Chorus / Drop: Full instrument stack, widest stereo image, most energy.
- Bridge: Contrast: new harmony, breakbeat, or stripped vocal moment.
Think drama: every section should either add, remove, or re-contextualize something.
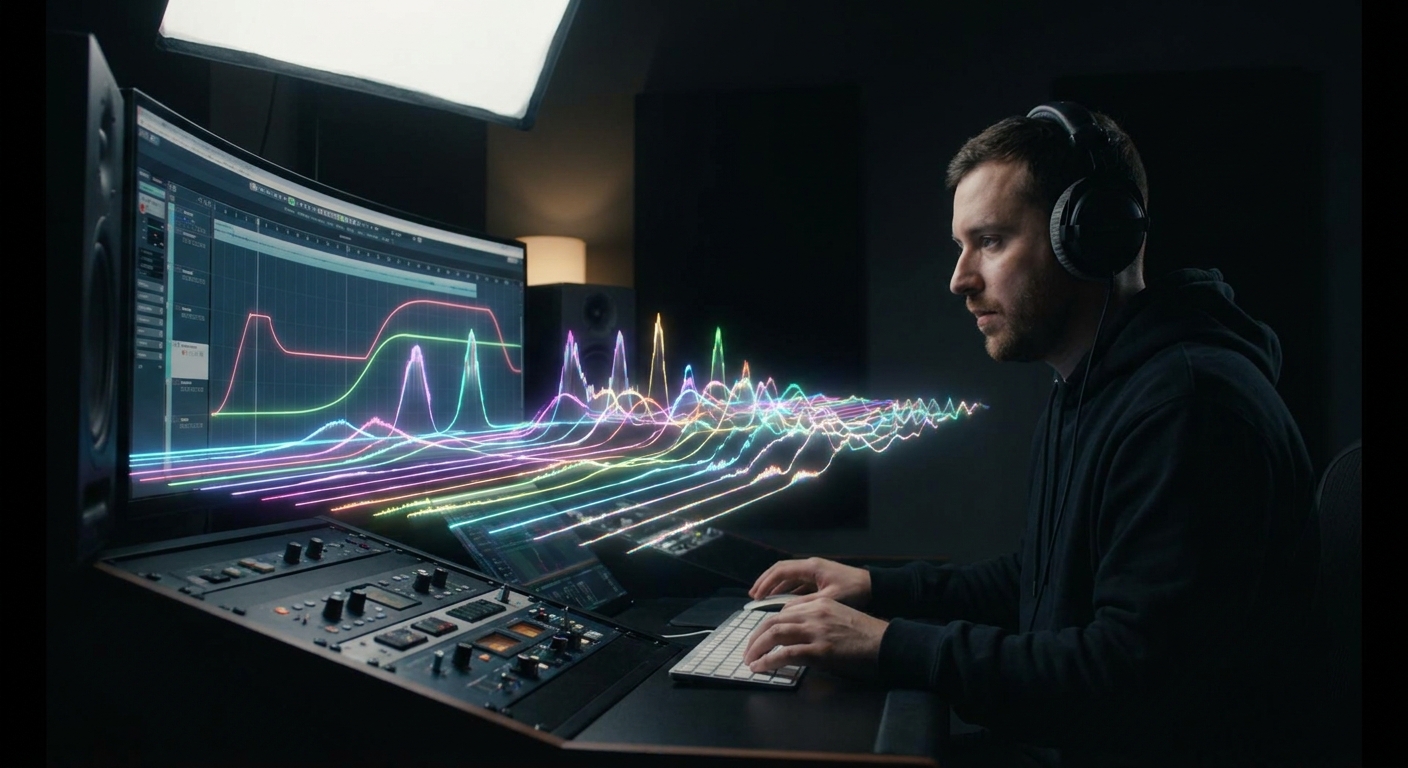
Step 3: Automation as Emotional Architecture
Automation is where your DAW becomes an instrument. Use it to create energy curves.
Common targets:
- Filter cutoff (low-pass/high-pass)
- Volume (individual tracks, buses)
- Reverb/delay send amount
- Panning and stereo width
- Distortion/saturation drive
Macro Ideas by Section
- Intro → Verse: Gradually open filter on drums or arps; fade in reverb.
- Verse → Pre: Slight volume rise on drums; automate hi-hats or percussion density.
- Pre → Chorus: Big filter sweep, rising pitch FX, reverb swell then sudden dry drop.
DAW Shortcuts
- Ableton: Press
Ato reveal automation lanes. Map multiple parameters to Macros and automate a single knob. - FL Studio: Right-click a parameter → Create automation clip. Arrange it in the Playlist.
- Logic:
Afor automation lanes; use Smart Controls to automate macro-style.
Step 4: Signal Flow for Automation – Where You Place Effects Matters
Automation choices depend on where you insert plugins:
- Track Inserts: Affects only that track.
- Bus Inserts: Affects all routed tracks (e.g., drum bus filter sweep).
- Send Effects: Affects only the amount of effect, preserving the dry signal.
Example 1: DJ-Style Mix Filter on the Whole Track
- Put an EQ or Filter plugin on the Mix Bus (pre-limiter).
- Automate a high-pass sweep into a drop.
Example 2: Reverb Swell into a Chorus
- Use a dedicated Reverb Bus.
- Automate the send level from the Vocal Bus going into that reverb.
- Optionally automate a pre-fader mute on the vocal to create a "throw" effect.
Step 5: Transitional FX as Punctuation
Treat transitions like punctuation marks in a paragraph.
Essential Types
- Risers: Noise sweeps, pitch rises, snare rolls.
- Impacts: Low booms, reverb hits at section starts.
- Reverse FX: Reversed cymbals, reversed reverb into a word or chord.
- Gaps & Stops: Strategic 1/4 or 1/2 bar silences.
Quick Reverse Reverb Vocal Trick (Any DAW)
- Duplicate a vocal word at the start of a chorus to a new track.
- Put a big reverb on it; freeze/bounce that track.
- Reverse the bounced audio.
- Align the reversed tail so it ends exactly on the original vocal word.
That creates a ghostly pull-into the word.
Step 6: Clip and MIDI Variations
Beyond adding/removing tracks, vary the patterns:
- Change drum fills at the end of every 4 or 8 bars.
- Slightly alter chord voicings between first and second verse.
- For EDM: modify rhythm of the lead or bass in the second drop.
DAW Tools That Help
- Ableton: Duplicate clips; use Follow Actions in Session for generative patterns.
- FL Studio: Use "Make Unique" on patterns before editing variations.
- Logic: Use Aliases for repeating regions, then convert to real copies to edit.
Step 7: Automation Curves for Life and Groove
Don’t just draw straight lines. Use curves:
- Exponential rises into drops feel more natural than linear.
- S-curve fades feel musical for intros and outros.
Many DAWs allow curve shaping:
- Ableton: Hold
Altwhile dragging automation to bend. - FL: Right-click automation points, choose curve shapes.
- Logic: Use the Automation Curve tool or drag lines while holding modifiers.
Step 8: Macro Control Design – One Knob, Many Moves
Build macro controllers that automate multiple parameters at once.
Example: "Tension" Macro
Assign a single knob to:
- Increase filter resonance on synths.
- Raise reverb send on vocals.
- Slightly boost a high-shelf on the mix bus.
- Fade in a noise riser.
Then automate that Macro from 0–100 over your build-up.
Implementation:
- Ableton: Instrument/Effect Racks with Macros.
- FL: Patcher surface controls.
- Logic: Smart Controls mapped to plugin parameters.
Step 9: Reference Tracks for Arrangement Decisions
Pull a favorite song into your DAW and:
- Add markers at section changes.
- Note bar lengths: how long is the intro, verse, chorus, bridge?
- Observe where fills and FX appear.
Use that as a structural template, not a musical one.
Step 10: Simplify the Last 10% – Don’t Crowd the Climax
Newer producers often add too much in the final chorus/drop. Sometimes power comes from clarity.
Try this for your last chorus:
- Mute one mid-level element you’ve heard all song (e.g., an arpeggio).
- Replace it with a simpler, high-impact layer (e.g., octave-doubled lead, crowd FX, extra backing vocal).
Automation tip: slightly increase master bus or drum bus level (0.5–1 dB) in the last chorus for a psychological lift. Use limiters gently so it doesn’t just squash.
Useful Stock Tools in Popular DAWs
You can do all of this with stock plugins:
- Ableton: Auto Filter, Utility, Echo, Reverb, Audio Effect Racks.
- FL Studio: Fruity Parametric EQ 2, Fruity Filter, Fruity Reeverb, Gross Beat for time/artifact FX.
- Logic: Channel EQ, AutoFilter, Space Designer, Delay Designer, Stereo Spread.
The magic is in the automation and signal flow, not boutique plugins.
Final Thoughts
Arrangement and automation are where your DAW stops being a tape machine and becomes a storytelling engine. Instead of asking, "What else can I add?", start asking, "What should change next, and how should it feel?"
Turn one of your favorite 8-bar loops into a 3–4 minute journey using these steps. Once you’ve done it a few times, building emotional landscapes inside your DAW will feel less like guesswork and more like craft.