Beat making isn’t just dragging samples onto a grid—it’s a repeatable system that moves an idea from your head to a finished, mix-ready beat. This guide walks you through a full, end-to-end workflow you can use in Ableton Live, FL Studio, Logic Pro, or Studio One, with enough technical depth to refine your process whether you’re on your first beat or your thousandth.
Introduction
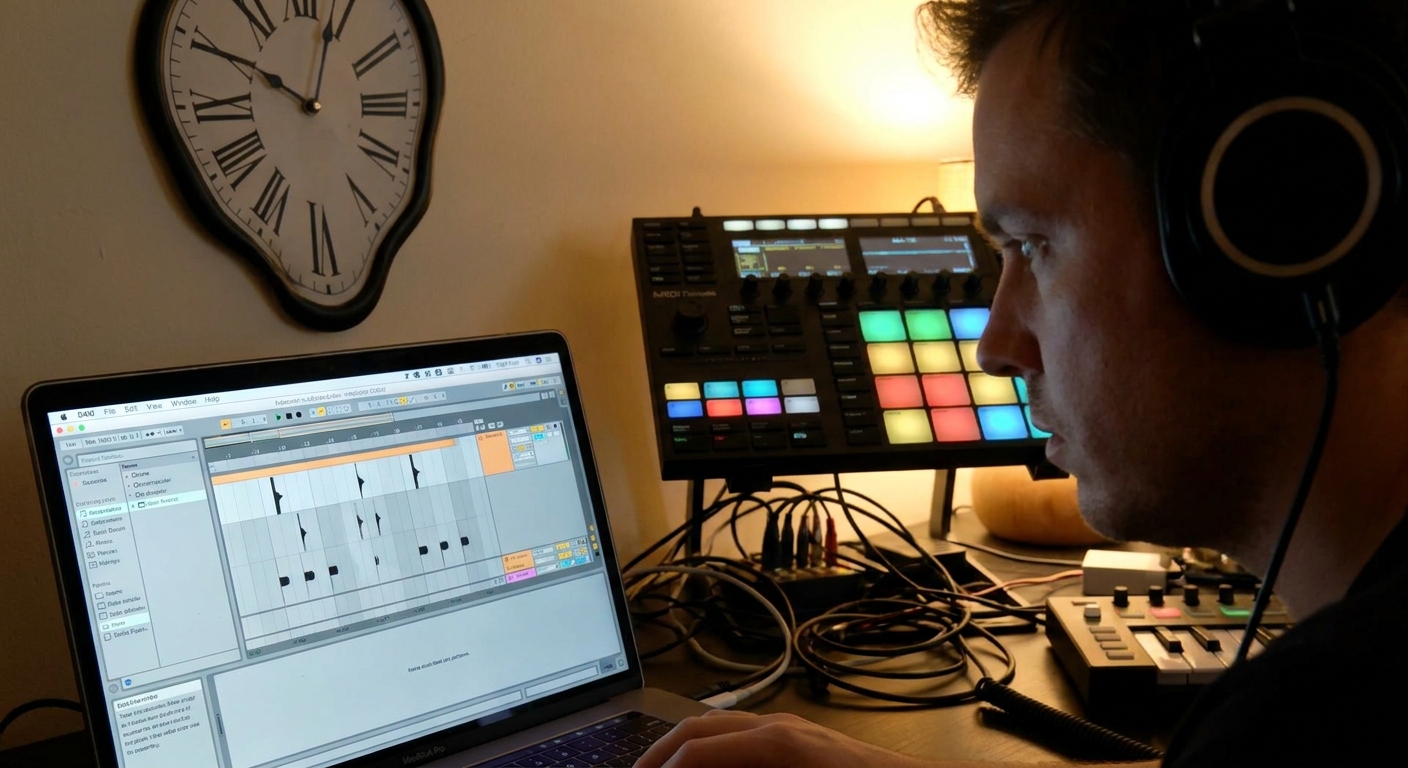
1. Capturing the Spark: Starting the Beat
1.1 Choose Your DAW Template
Speed is everything when inspiration hits. Set up a basic beat-making template in your DAW:
- Ableton Live: Create a template with Drum Rack on one MIDI track, a Bass Instrument Rack, a Keys/Synth track, and a Send/Return chain (Reverb, Delay, Parallel Compression). Save as Default Set.
- FL Studio: Create a template with a preloaded Channel Rack (Kick, Snare, Hats, 808), a Mixer routed to a Drum Bus, Music Bus, and Master Bus. Save as a custom template.
- Logic Pro: Use Track Stacks – one stack for Drums (with Drum Machine Designer), one for Bass, one for Chords/Keys. Add pre-labeled buses.
- Studio One: Create a Song template with Impact XT for drums, Mai Tai or Sample One for instruments, plus FX buses.
This way, your signal flow is ready before you even hear the first sound.
1.2 Groove First, Sound Later
Resist the urge to hunt for the perfect kick right away. Instead:
- Use a placeholder kit.
- Lay down a 4–8 bar loop with basic patterns: kick on 1 & 3 (or 1 & "and of 2" for bounce), snare on 2 & 4.
- Add a closed hat pattern: start with straight 1/8 notes, then introduce off-grid variations using swing.
DAW Tip – Swing:
- Ableton: Use Groove Pool (e.g., Swing 16-57), drag to clip.
- FL Studio: Use the Global Swing in the Channel Rack or per-channel shift.
- Logic: Quantize to 16C Swing and tweak strength.
- Studio One: Use Quantize Swing slider in Quantize panel.
2. Building the Core: Drums & Rhythm
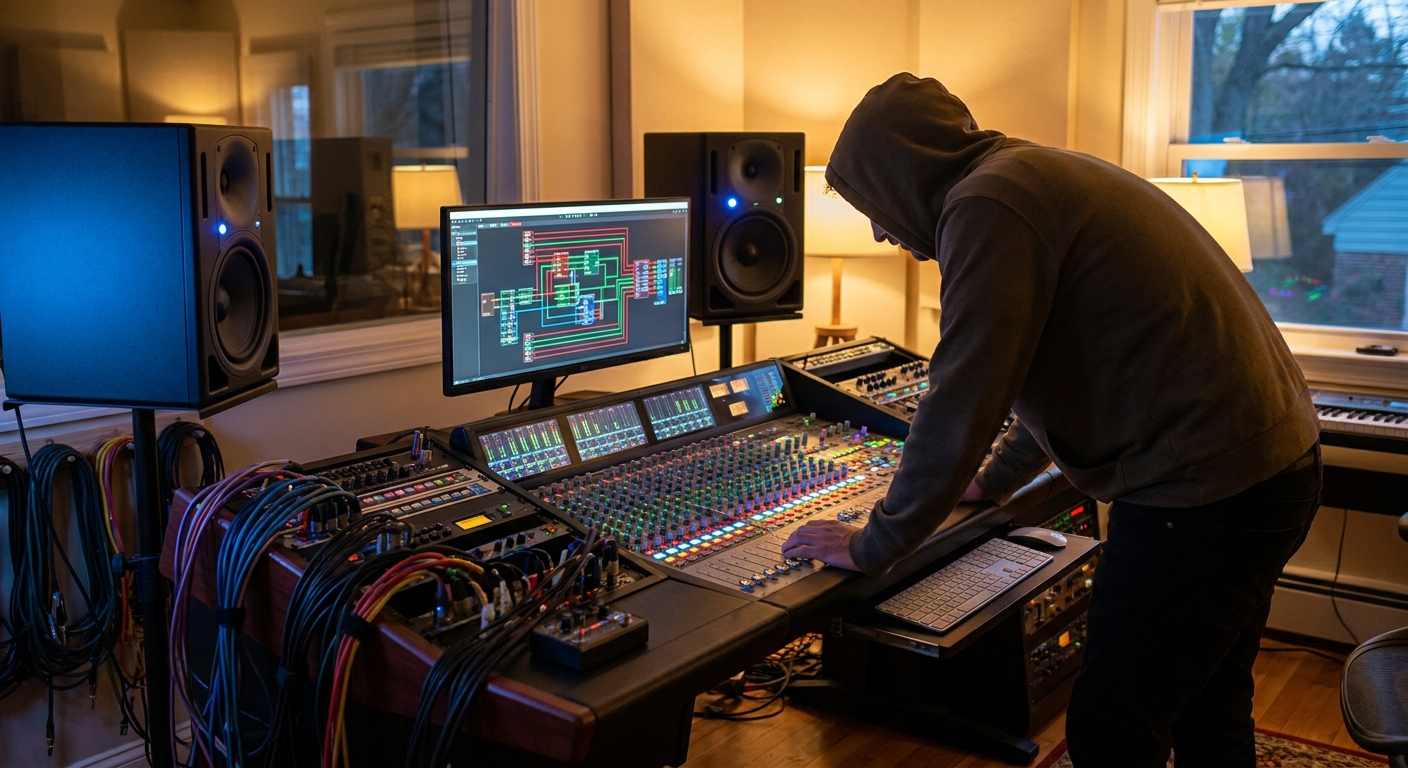
2.1 Drum Signal Flow: Clean and Clear
A solid routing structure makes later mixing painless.
Recommended drum signal flow:
- Individual Drum Tracks → Drum Bus → Mix Bus → Master
- Gentle bus compression (2–3 dB gain reduction)
- Subtle saturation for glue
- Compressors: FabFilter Pro-C 2, Ableton Glue Compressor, Logic SSL Comp style, FL’s Fruity Limiter (Comp mode), Studio One’s Compressor.
- Saturation: Soundtoys Decapitator, FabFilter Saturn, Softube Saturation Knob, Ableton Saturator.
On the Drum Bus:
Plugins to consider:
2.2 Layering vs. Stacking Drums
Layering is combining sounds to behave like one instrument. Stacking is placing similar roles on top of each other without intention.
When layering:
- Pick a body kick (low-end thump) and an attack kick (click/top).
- High-pass the attack layer around 150–250 Hz.
- Low-pass the body layer around 3–6 kHz if it’s harsh.
- Align transients—use waveform view and nudge by a few ms if needed.
- One for crack (2–5 kHz).
- One for body (200–500 Hz).
- Optional clap layer for width with stereo spread.
For snares:
3. Bass and 808: Owning the Low End
3.1 Choosing the Right Low-End Strategy
You’ll usually pick one of these:
Single 808 as Kick & Bass (trap, drill)
Kick + Sub Bass (EDM, R&B)
Kick + 808 in Layers (hybrid modern beats)
Golden rule: At any moment, there should be one main element occupying sub-60 Hz energy.
3.2 Tuning and Gain Staging
- Always tune your 808s to your song key.
- In Samplers (Simpler/SimSampler): set Root Note correctly so MIDI plays in key.
- Individual tracks: peak around -12 to -6 dBFS.
- Drum Bus: peak around -6 dBFS.
- Master: leave -6 dB headroom before limiting.
Gain staging targets:
3.3 Sidechain for Clarity
Use sidechain compression to duck the bass when the kick hits:
- Insert a compressor on Bass/808 track.
- Select Kick as sidechain input.
- Fast attack (1–10 ms), medium release (80–200 ms), 2–4 dB gain reduction.
- FL Studio: Use Fruity Limiter or Fruity Peak Controller with volume link.
- Ableton: Any compressor with Sidechain (e.g., Glue, Compressor).
- Logic: Compressor > Side Chain > Kick Bus.
- Studio One: Compressor > Sidechain enable > Kick send.
In:
4. Musical Layers: Chords, Melody, and Texture
4.1 Choosing a Key and Scale
Pick a vocal-friendly key (A, B♭, C, D minor or major). Use:
- Ableton: Scale MIDI Effect.
- FL Studio: Helpers → Scale Highlighting in Piano Roll.
- Logic: Scale Quantize in Piano Roll.
- Studio One: Chord Track and Scale selection.
4.2 Sound Selection Workflow
Think of your harmonic layers in roles:
- Foundation: Warm keys, pads, rhodes (omnisphere, Arturia Analog Lab, stock pianos).
- Character: Guitars, plucks, bells.
- Air / Texture: Reversed pads, noise layers, filtered vocals.
Processing chain example (keys):
- EQ: High-pass at 80–120 Hz, tame low mids (250–500 Hz).
- Compression: Light (1–2 dB) to stabilize.
- Saturation: Subtle for harmonics.
- Reverb/Delay: Send to FX bus (don’t throw directly on track).
5. Creative Arrangement: Turning Loops into Songs
5.1 From 8-Bar Loop to Full Track
Basic structure template:
- Intro (4–8 bars)
- Hook/Chorus (8–16 bars)
- Verse (16 bars)
- Hook (repeat)
- Bridge or Breakdown (optional)
- Final Hook/Outro
- Mute/Unmute elements for contrast.
- Use call & response: melody plays in hook, simplified or removed in verse.
- Automate filter cutoff (low-pass on master or music bus for build-ups).
Techniques:
5.2 Automation as Storytelling
Automate gradually:
- Synth filter cutoff to increase energy.
- Reverb send on lead sound in transitions.
- Delay feedback for end-of-phrase throw effects.
- Hit A in Ableton/Logic for automation lanes.
- In FL Studio, use Automation Clips.
- In Studio One, show Automation Lanes per track.
Most DAWs:
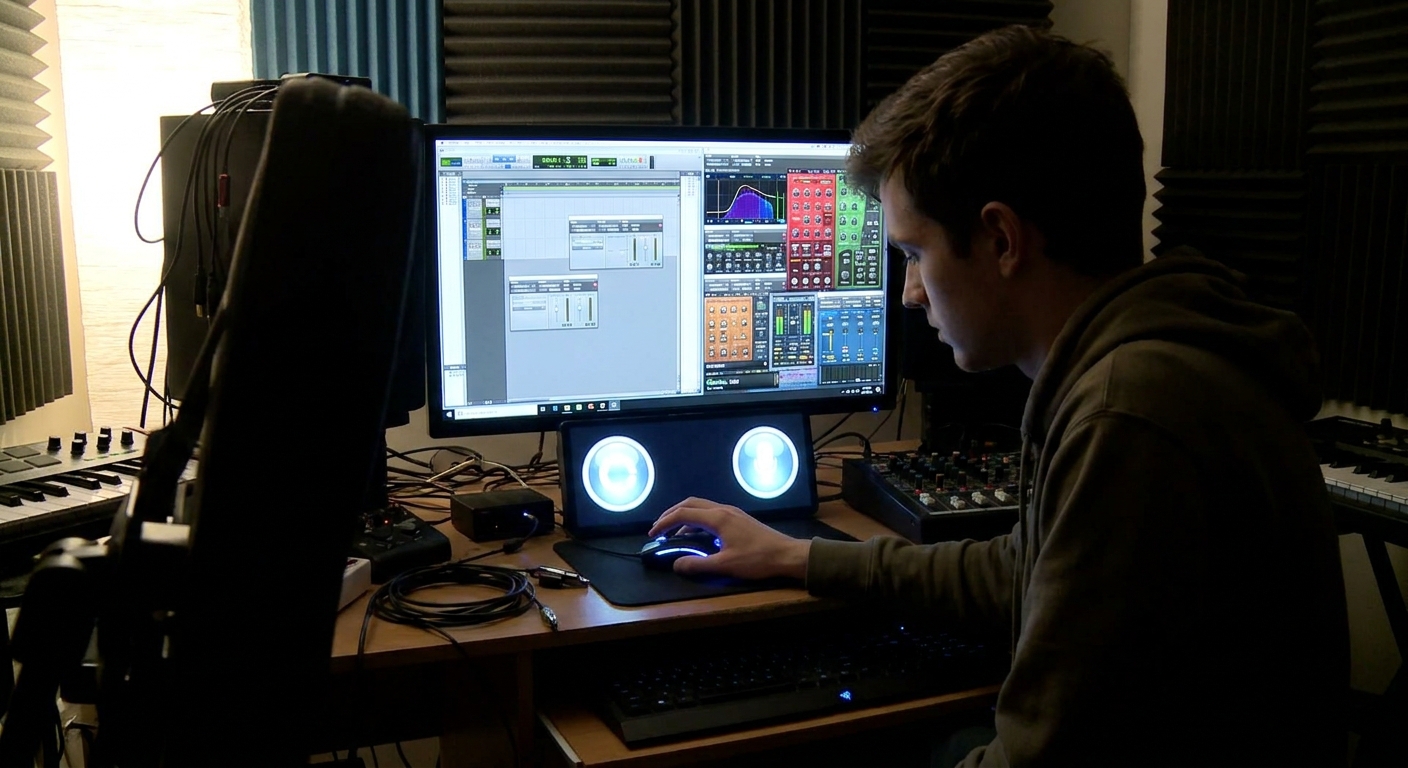
6. Rough Mix and Pre-Master
6.1 Balancing Before Processing
Turn off most plugins. Do a faders-only mix:
- Pull all faders down.
- Raise Kick to a comfortable level.
- Add Snare until it feels right.
- Bring in Hats, Percs.
- Add Bass/808 against the drums.
- Bring in Melodic elements last.
6.2 Bus Processing
Drum Bus:
- Light compression, slight saturation.
- Gentle multiband compression if elements are wild.
- A broad EQ tilt (e.g., +0.5 dB at 10 kHz for air).
- Transparent limiter (FabFilter Pro-L 2, Ozone Maximizer, or stock limiter).
- Aim for -9 to -7 LUFS for modern loudness, but don’t crush dynamics at the production stage.
Music Bus:
Master Bus (for rough reference, not final mastering):
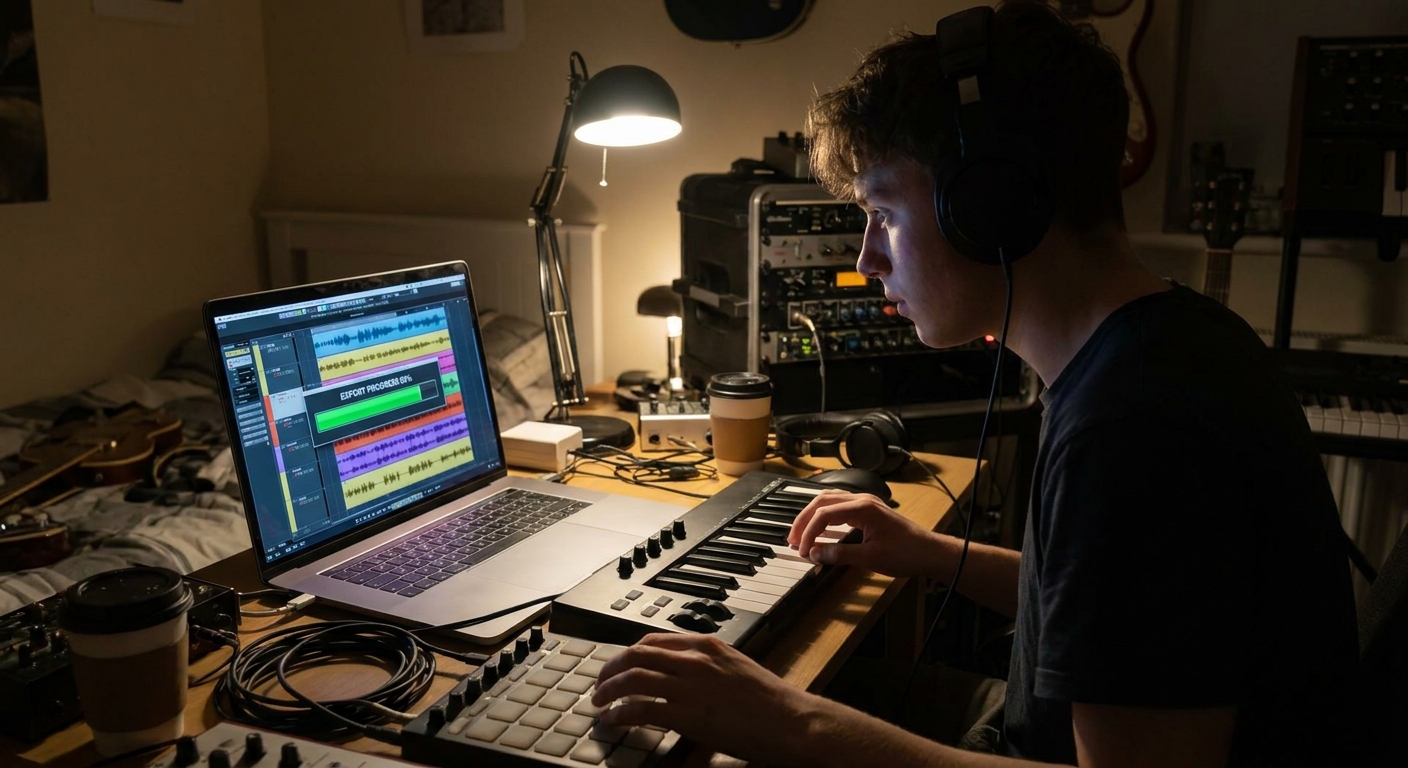
7. Exporting and Versioning
Export at:
- 24-bit, 44.1 or 48 kHz, WAV.
- Keep an unlimited version for proper mastering later.
- Bounce stems if you plan collaboration or external mixing: Drums, Bass, Music, FX, Vocals.
Name versions clearly: BeatName_v03_140BPM_Am.
8. Final Thoughts: Make the Workflow Yours
A great beat-making workflow is modular: drums, bass, music, arrangement, mix. Master each module, then link them into a routine you can repeat under pressure—whether you’re alone at 2 a.m. or in a studio with an artist waiting on the couch.
Adapt this framework to your DAW, your genre, and your ears. The more consistent your process becomes, the more your creativity can focus on the only thing that truly matters: making something that moves people.